Amazingly Edible Sunflower


It's no secret I love Sunflowers.  They’re on my fence, in my yard and make up about 60% of my tepees and arbors!  However, let's talk about the amazingly edible sunflower plant!  And not just seeds, all of the plant from the roots to the stalks to the leaves, petals and the seeds are edible.  The majority of the entire sunflower can be eaten.  It's quite amazing actually that most only know of the seeds; and, is the exact reason for this quick series starting with the leaves of the sunflower plants.    

Let's Talk Sunflower Leaves!

Sunflower leaves are simply a joy to me.  Why?  They are so large, so strong and thick they are like pieces of leather on larger sunflower plants. They are beautiful to look at in a garden adding depth and color, texture and even height.   The giant leaves add shade to plants on hot afternoons, helping to extend the lives of cold crops if grown above them. All of this is enough for one to love them.   Imagine the excitement when discovering they’re also edible!  I won't lie, sunflowers have a bite that's hard to explain; it's an extremely unique bitter flavor. Nutty in a way almost peppery as well.  Lets look at ways to eat them!

Young Shoots

Young sunflower shoots are edible microgreens!  Unlike their older siblings that get bitter with age, the microgreens are super soft, have a thick feel and at this point are actually sweet.  Shoots are often grown in window gardens and used on salads and on sandwiches. Let some of the seeds fall each season and the yard will be so full there will be no issues sacrificing many of the babies to the microgreen category!  

Tender Leaves

Tender leaves, those that are still young on soft stalks can be eaten raw in salads. The entire leaf can be eaten at this stage without removing the veins.  Although, they actually taste slightly more bitter to me at this stage believe it or not, I prefer the mid adult leaves.   One can soften the flavor some by removing the center vein of the leaf. 

Large Adult Leaves

Large adult leaves can be cooked like greens, boiled, sauteed or steamed with salt, garlic and butter.  The older they get the tougher they get and the longer they take to cook. When using the super large leaves, boiling first is best with a water refresh.   I like to harvest the leaves in the mid range size prior to blooming.  Once flowers bloom the leaves naturally start to die down.   

I did say they are like the bitter lettuces, with a bite that leaves you wondering how to describe them. Serving with savory dishes compliments the bite of this beautiful green!  They are also wonderful with mushrooms.  The earthy flavor of mushrooms  complements the greens well and they do great with fatty meats.

Here is a recipe for eating with fatty meats

    • 5 to 6 midsize Sunflower leaves
    • 1 quarter purple onion
    • 3 to 4 (or more if your like me 5) garlic cloves 
    • Balsamic vinegar
    • Olive oil
    • Salt
    • Crushed pepper 
    • Butter
    1. Wash, remove the center and main side veins from the leaves. Add olive oil to pan and heat while dicing garlic and red onion. Add Onion and garlic to oil and saute until slightly brown on a low simmer
    2. While cooking garlic and onion boil water and blanch the greens until slightly soft and the water is a soft green.  Drain greens and add to butter, garlic and online mix.
    3. Stir fry  the greens for a moment coating them with the oil. Add a few tablespoons of water.  Add pepper flakes and stir fry in.
    4. Steam well for a moment and then add a generous amount of balsamic vinegar. Lower heat and let simmer for another 10 minutes or so.  If liquid evaporates add more vinegar!
    5. Once the leaves are stir fried and the liquid has evaporated some add butter to the pan and allow it to sizzle

Add salt and pepper and serve hot!


Visit me on Instagram!

Shop my Favorites!

Western Chief – These lovely garden clogs are from Westernchief! Of which I’m a proud garden ambassador!  Their products include garden boots and clogs as well as a range of casual and comfortable house shoes. Visit them online, use OMA20 at checkout for 20% off your own pair!

Note: I earn a small bonus for each purchase.  Thank you in advance for blessing me with that as it’s what enables me to bless you as well with a discount of your own.

Using Sunflower Stalks in Your Garden!

If you’re a Gardner like me you’re always looking for ways to re-use!   One spends so much time and money on their gardens anyway.  Why not find ways to utilize the plants they grow, (outside of the obvious food of course)!  This was my thought when I started investigating using Sunflower or Okra stalks in my vegetable beds.   I mean Sunflowers are just a beautiful addition to any garden and I plant them everywhere!
Skyscrapers along the back
Mammoth Sunflowers by the Arbor
Skyscrapers Around the Pond
Corn and sunflowers

What really grabbed my attention was the size of them.   Some of these plants grow so tall and the stalks are so large that it just seemed right to use them in the gardens if possible.  As a result, over the last season, I have been testing out both sunflower and okra stalks as tepees and as slat holders in my space.  Here are some tips I have learned on reusing these giant plants.

Tips on using Sunflower and Okra Stalks

  • The stalks of the skyscraper sunflowers can range from three to four inches around at the largest point.  Some even get as high as fifteen feet.  These can make beautiful natural poles for beans etc. As such, if they are in the right spot you may consider not cutting them at all.
    Skyscraper Sunflower sawed for drying

    Plant your veining plants at the base of them and allow them to simply crawl their way up.

However, If you need to utilize your stalks in a spot other than where they grew,  pull them up and clean them for drying.


  • Utilize a small saw to cut them at the base of the plant.  After removing several of them I found it easier, (at least on the larger plants ) to cut them first and deal with the roots later.

    Saw the stalks at the base of the plant
  • Prepare stalks for drying by removing any leaves, stems, flowers etc remaining on the plants.  Do  NOT cut the leaves or stems all the way to the stalk!  Allow about an inch of length to remain.
    Leave about an inch of the stem on your stalks while cleaning

    This sounds odd; however, once dry this tip hardens, and provides great handles for string, twine or rope.

  • Drying is very important.  Okra stalks were harder to dry.  I lost several to mold while attempting to dry them over the fall and winter season.  The weather was too cold and wet.   Sunflower stalks dried much faster and easier with less loss.   As such if your planning on using Okra it’s best to grow them in the spring and use the summer sun to dry them with.
  • Find a place that has full sun and keep them off the ground.   An arbor can provide the perfect spot!
    Sunflower stalks drying on the arbor

  • Sunflower stalks took about 45 days to fully dry.  At that point they were ready for the garden.
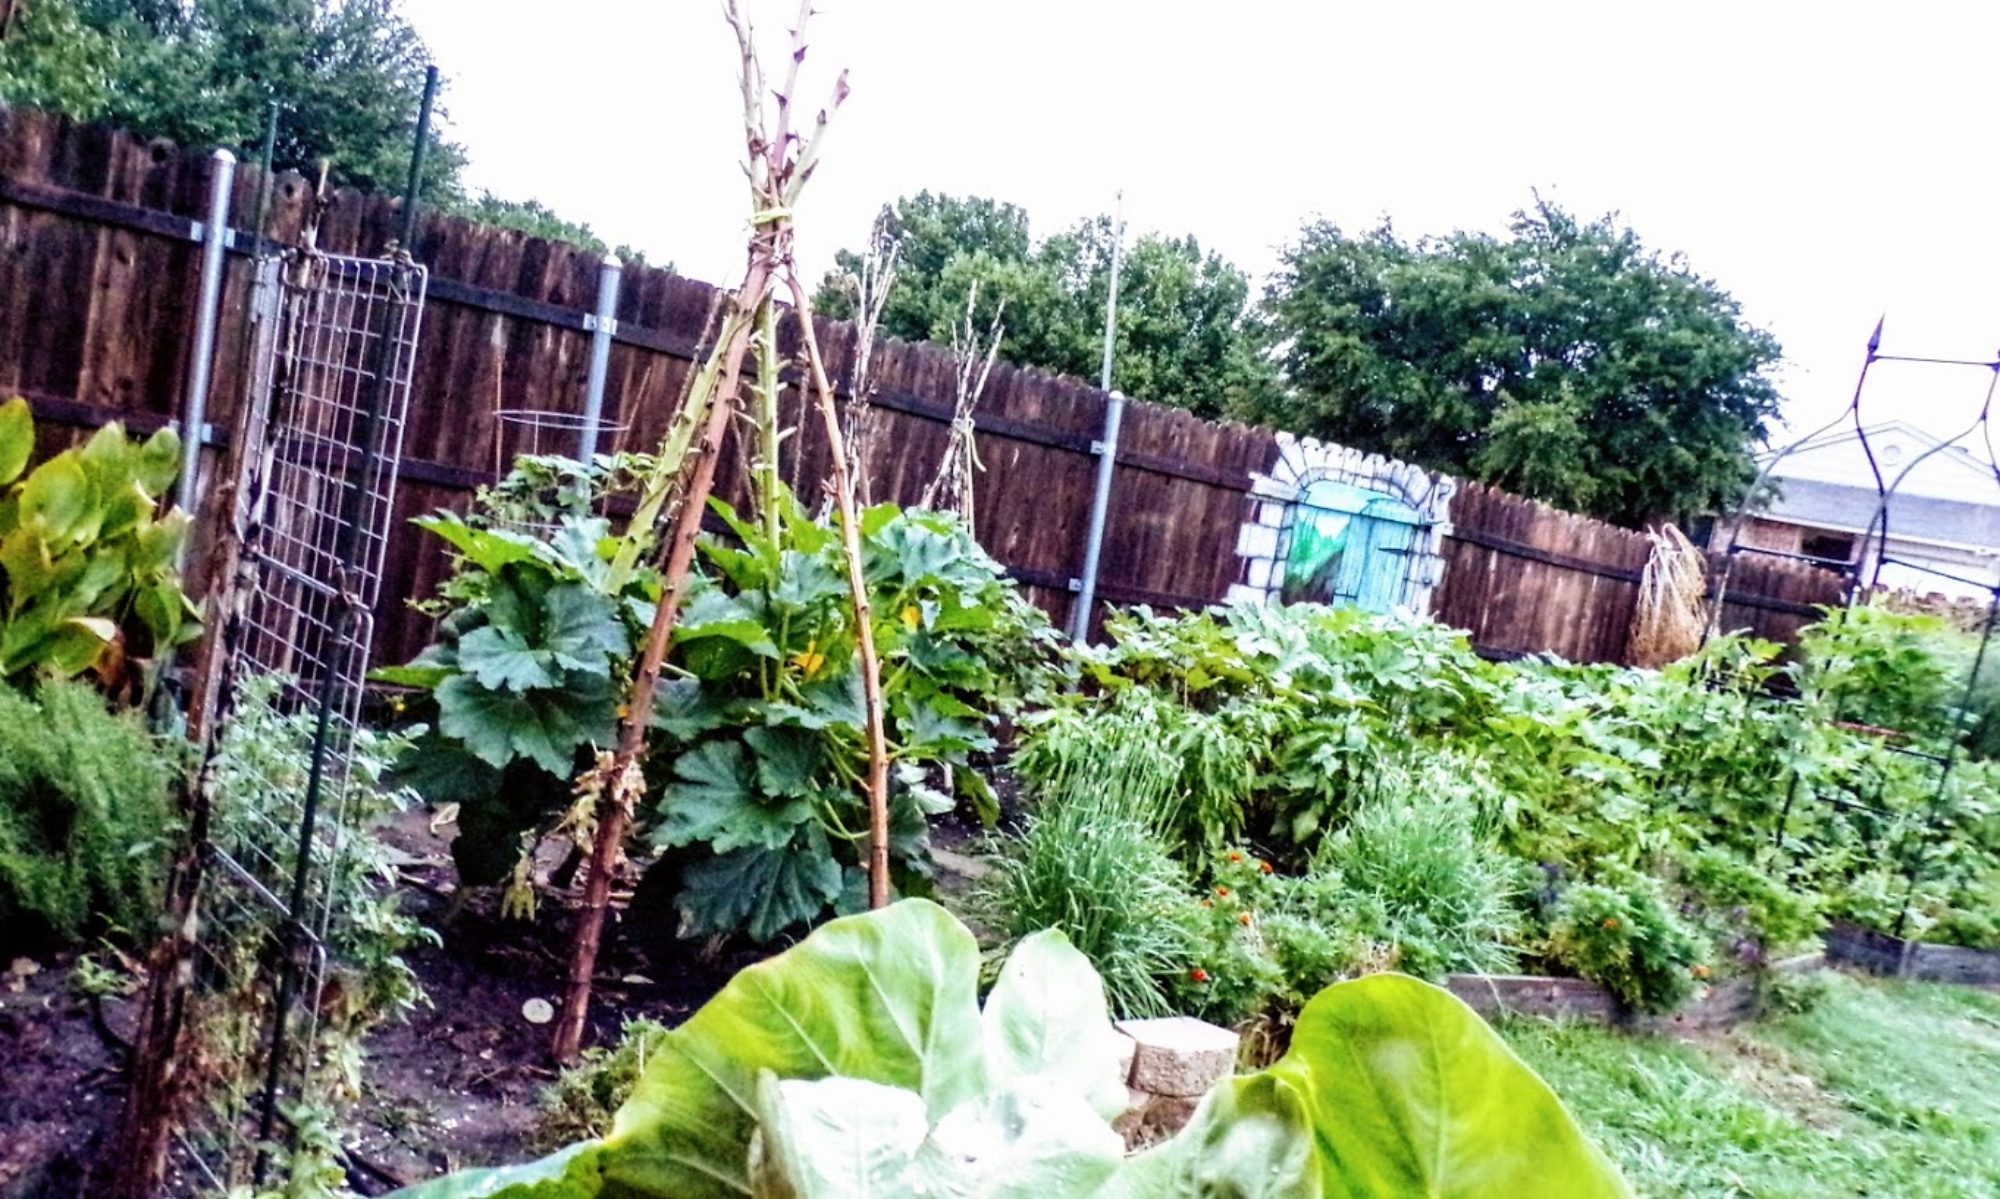
  • For tepees utilize heavy garden twine to tie the stalks together; or, twists that are stable enough to hold them together.  It’s also helpful to dig out the area the  tepees will fill prior to tying them up.

    Once more gourd pic because it’s just cool!

You can find Sunflower and Okra stalks all over my beds.  The larger stalks were used for zucchini and Gourds

Zucchini took up lots of space before the stalks.
Stalks in place, Zucchini now off the ground!
Underestimated the weight of the gourds! Vines were hanging low.
Larger Stalks held the weight lifting them above the plants below them
Once more gourd pic because it’s just cool!
Smaller stalks make perfect bean or cantaloupe tepees.

Overall I have been very satisfied with the beauty and versatility these wonderful plants add to a garden.  Once your flowers are gone, before you throw them out, look around your area and make sure there is not a place their stalks are needed!   Here is a quick video to cover a bit of the content on this article!

Accompanying Content


Visit Oma’s Store Front For Handmade Organic Products

Growing Skyscraper Sunflowers

The Skyscraper Sunflower is just one of the funnest sunflowers to grow! It is SO large, so tall and so bright that I do believe every Bee in the nation can see it!  Or at least it seems that way as they all fight for space across its giant Yellow flowers.

About Skyscraper Sunflowers

The Skyscraper sunflower earns its name as it is one of the tallest sunflowers there is to grow!  This baby here grew fifteen feet high and was actually slightly taller than the roof of my house! As a result, you can see from the photo above the flower head was a good thirteen inches across.  Not only are the flowers beautiful the drying stage and the seeds are beautiful as well.

Skyscrapers also produce the largest sunflower seeds making them the best to eat! Their colors range from bright white with gray stripes to light and dark grays and their seed heads are just amazing to look at!

Tips on Growing Skyscraper Sunflowers

  • Skyscrapers grow best in zones 3-9 and need full sun all day long if possible.
  • SF Home Gates recommends tilling the soil to around two feet deep in prep for these giants.  That may be the best for sure as their root systems are solid.  However, I will be honest I did not till more than 10 inches and they still grew well.
  • Sunflowers like well-drained soil, no water should be standing as it will cause root rot.
  • Sow seeds directly in the ground after all danger of frost.  Seeds can take approximately 10 days to germinate.
  • Water deeply two times a week rather than short bursts of watering each day. This will help your sunflowers grow deeper root systems preparing them for the heat.  You can see more about watering in the article,  "Helping Plants Survive the Heat"
  • These plants are large so give them room to spread.  Plant 2-3 seeds per section approximately 18-24 inches apart.  Thin to the strongest plant in the grouping once established.

  • Plants should mature in approximately 60-75 days.
  • Use fish emulsion once a month on these giants!

Challenges with Skyscrapers Sunflowers

  • Aphids love sunflowers!  This is actually what makes them such a good companion plant as I swear they will go there before your other plants. Be on the look out for them under their giant leaves and act quickly or they will soon look like this!
  • Ants will often congregate around sunflowers you can sprinkle DE at the base of the plants to avoid this.
  • Sunflower Months of course are one of the largest predators as they actively seek sunflowers to lay their eggs in.  Read about managing sunflower moths in The Article "The Sunflower Moth"

Companion Plants

  • Squash
  • Beans
  • Corn
  • Cabbage
  • Cucumbers
  • Peppers
  • Tomatoes

Find Sky Scraper Sunflower Seeds in Oma's Store Front!

Insects – The Sunflower Moth

About the Sunflower Moth

For those that love Sunflowers be on the look out for this pesky insect! It’s a small white sandy colored moth in the genus Homoeosoma.  There are two types, the American Sunflower moth (Homoeosoma electellum) and the Eurasian sunflower moth (Homoeosoma nebulella).   They show up in May to August time frame (depending on your region) and are most prevalent in the twilight hours, (figures it would be right when we all love to be in the garden) where the female lays their eggs on the sunflower head.   

The spawn of this devil will hatch in about a week’s time and burrow themselves down into the the seed head and attempt to eat to their heart’s content with no concern what so ever to your precious plants (how rude!).    To make matters worse this pest can also effect your Marigolds and your Echinacea  as you can see from the picture below where some of my own were impacted.   Signs of damage appears as a rotted area right in the middle of your flowers.   If you pull the seed head apart you will most often find the worms, (I’ll add a pic of that).

Tips to Avoid and Treat

Like so many of the insects we deal with in our gardens there are a few natural enemies of the sunflower moth.

  • Wasps will attack the larvae as well as eat the eggs of the moth reducing its impact.
  • Ground beetles can attack the overwintering pupae and pirate bugs will also feed on them.
  • Insecticidal soap as well as dawn dish soap (1 1/2 tsp per quart) mixed with water and sprayed on the plant’s seed head can be used.
  • Organic insecticides such as BT and Neem can be used.
  • I personally have had good luck using Neem Oil (the 100% organic cold pressed kind that you mix yourself) to detour them.   Simply spray the seed heads while spraying the rest of the garden.
  • Tilling your soil well for winter as well as again in spring and using nematodes is a good practice. This helps remove any overwintering little critters, (get them while they sleep!)

There are also several synthetic sprays that can be used. However its best for our bees to try the natural methods first as there are so many organic options available to control this pesky insect.     If you find them on your plant cut and remove the flowers impacted and do not compost!