Growing Yarrow


Yarrow has become one of my favorite wild herbs. I received my first yarrow plants as an act of God.  Yep, I found it growing wild in my pesticide/weed killer free lawn right next to the Dandelions! Once this fuzzy fern looking plant was identified as Yarrow, I knew it was staying and moved several clusters to a designated spot in the garden. It now returns annually. I do still tend to find more showing up in other areas. When this occurs I either move it to its designated spot, pull it up, or leave it right where it is and allow it to bloom.  

Growing from Seed

If starting Yarrow from seed start indoors 6 to 8 weeks prior to the last frost. Plant in ground once all fear of frost has passed.

  • If direct sowing start in early spring after all chance of cold has passed.    
  • Yarrow loves full sun, it can grow in partial shade however will not grow as strong.  For this reason its best to find a sunny spot for Yarrow.  
  • Plant in sandy loam soil. Yarrow can grow in clay soil if water does not stand in the area for extended periods of time. 

Companion Plants

  • Lavender
  • Garlic
  • Onions
  • Cabbage, broccoli, and all the Brassicas
  • Oregano
  • Spinach
  • Thyme

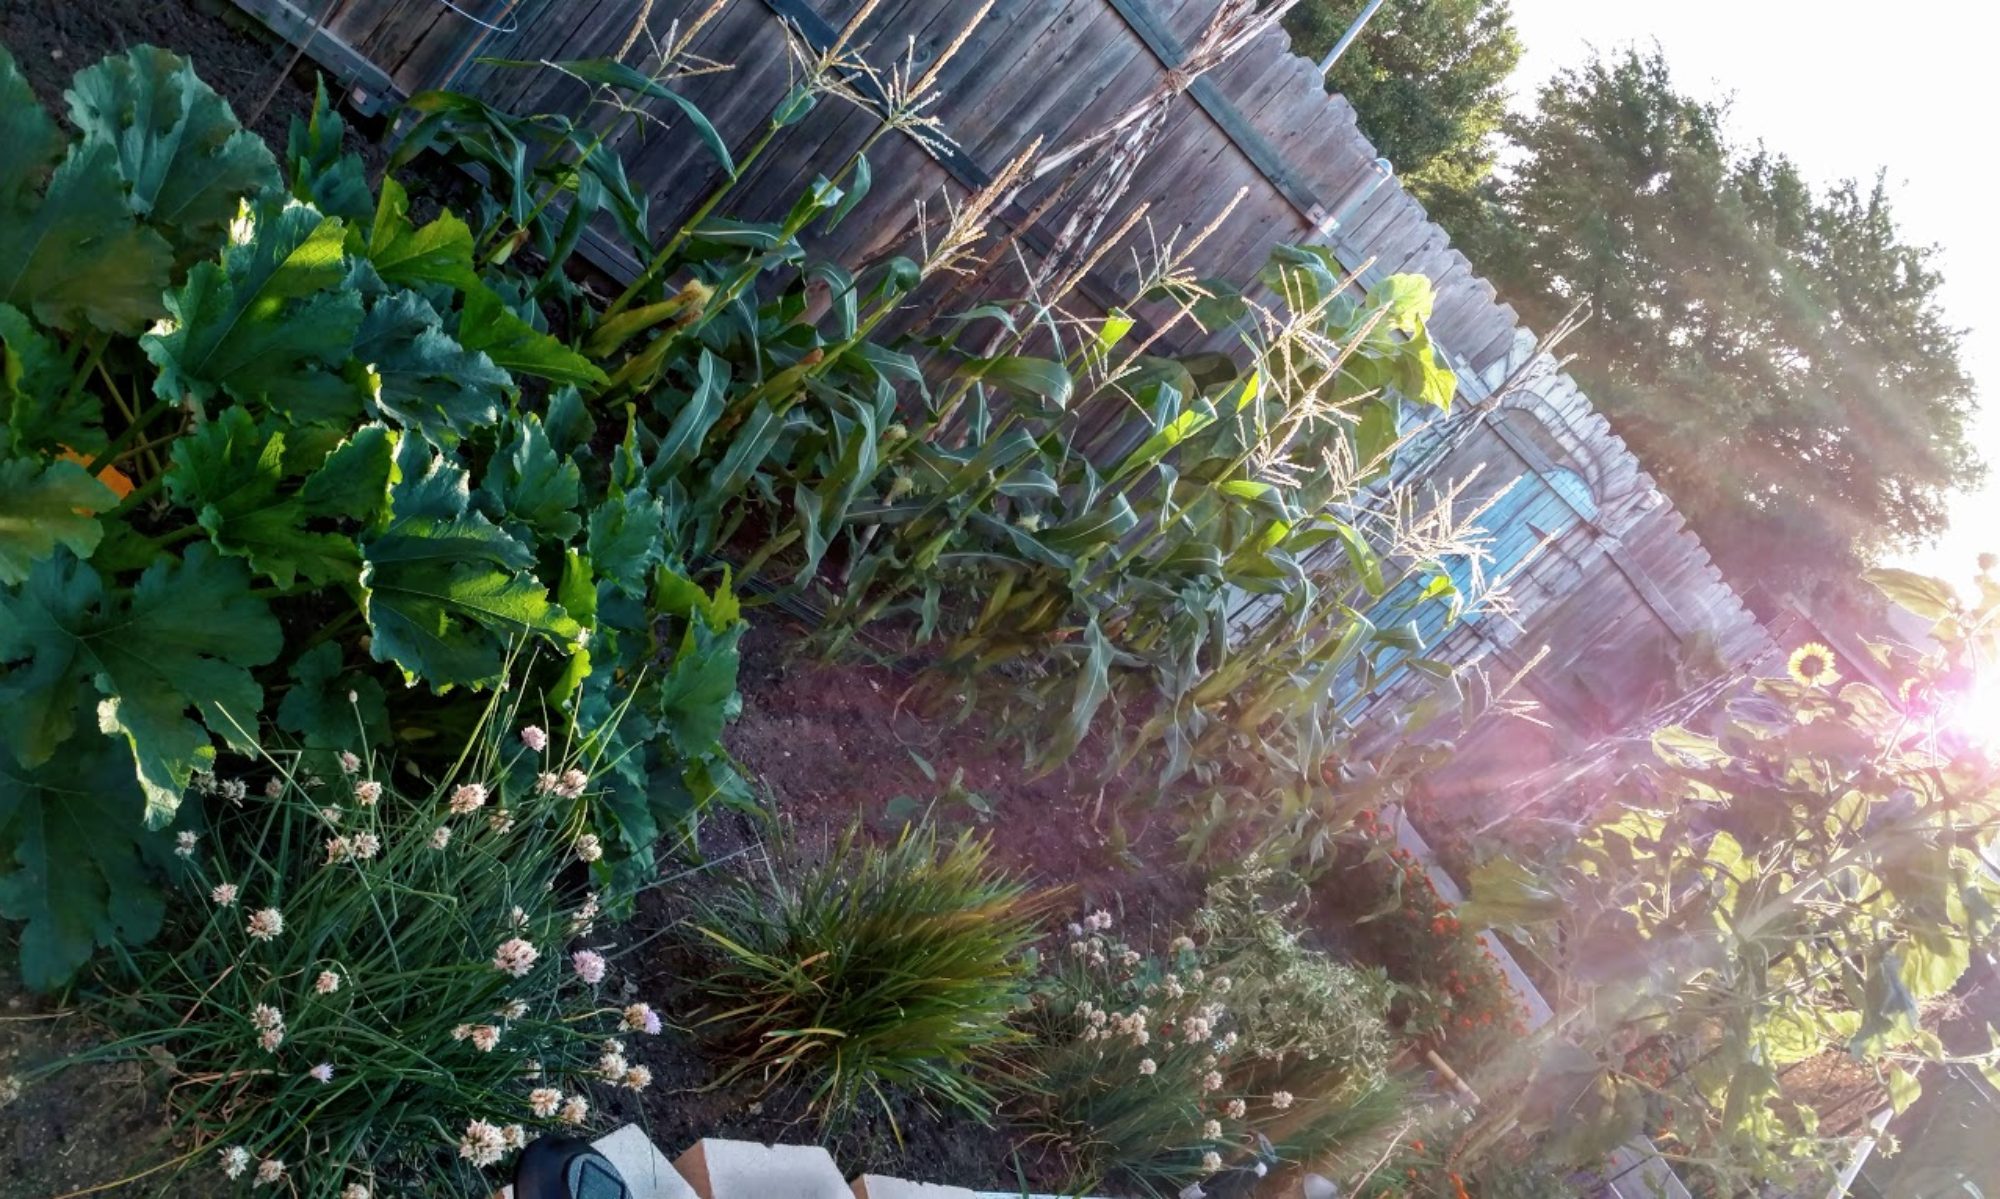
Yarrow is susceptible to Powdery Mildew so DON’T grow it around plants that are also susceptible to Powdery Mildew.  For example, squash, pumpkins etc.

Read more about the history and uses of Yarrow here:

HFF Plant of the Month: Yarrow

Brought to you by Herbal Face Food

The plant of the month series brought to you by  Herbal Face Food.  A company I'm very happy to support.  Each of their products are made with 100% plants!  As they say, "HFF is not plant based it's 100% plant powered." Bringing together up to 100 different plants in their products, HFF is the only 100% plant based skin care product on the market.  I do make a discount for any purchases referred.  In turn, I'm able to offer a 20% discount to my readers along with tips on how to use the same wonderful plants in your own home or plot gardens.
Relocating Plants

It's Spring!!  And, it seems all I want to do is move things around in order to get ready for it!   Its almost like that spring fever some get.  You know where one wants to clean their house and rearrange their furniture.  The room feels so new, so clean.   The garden does the same thing to me.  The only difference being when relocating plants, instead of simply shoving the furniture around and being slightly horrified at the mess found below it, roots have to come up.  That's right the entire plant has to be moved and this for some can be a little scary; it doesn't have to be.

Why would one relocate plants?

I have to admit I relocate plants all the times.  Some of my babies have been moved as many as three times.  Why? The biggest reason is expanding the garden.  Take these lavender plants for example.  They were in the perfect place... last year; sitting right at the boarder of my garden.  However, after once again expanding the space they are no longer perfectly placed and have to be moved.   Other reasons could include realizing the perfect place is not perfect.  The plants are not happy.  They are either experiencing too much, or not enough sun or even water etc.  Regardless of the reason, if your on a journey to relocate your plant babies use these tips to help with the transition.

Choose the right day! 

Choosing the day is the number one thing to consider when relocating plants.  Bottom line never move plants unless you absolutely have to on an extremely hot bright sunny day.  That's right, extreme heat can add horrible stress to the plant as it tries to recover so don't move them in the heat.  The best time to move plants is either on a cool sunny in spring or my favorite an overcast cloudy day with a soft rainy occurring.  Doing this makes all the difference to ones plants.

Maintain as much of the root ball and as possible.

Some roots will be lost however savings as much as one can will ensure a fast transition to the new space.

Add Epsom salt to the new spot. 

We are not the only ones who feel relaxed in an Epsom bath.  Nope its the perfect thing to add to plants.  Just a few teaspoons mixed into the soil is perfect to help them relax through the move.  Visit my article Epsom Salt Once a Month! – Quick hit!  for more details on Epsom in your garden.

Keep soil the same level as previously found.

Make note how the plant is sitting in its current space.  Dig the new hole large enough to set the plant fully in the ground and fill the soil back to the same plant height.

Water, water, water

Water should be a given; however here are a few things to help the plants establish faster.

  • Fill the entire new hole with water prior to placing the root ball into it, then fill the soil in over the water.  Yes the soil will soak it up. This helps ensure soft moist soil the now weakened roots can push through as they re-establish themselves.  Second, even if its a plant that prefers little water, provide them a bit extra over the next few weeks.  Don't drown them, ensure however the soil stays semi-moist. Again, this allows those wounded roots to easily take ownership and start to regrow.

In a strange way relocating plants successfully does give one that same feeling of walking into a new room.  Especially when completed successfully, so use these tips and move those babies as needed around that wonderful new space.

Visit me on Instagram!

Shop my Favorites!

Western Chief – I’m a proud garden ambassador to Western Chief!  Their products include garden boots and clogs as well as a range of casual shoes, are available in many places and recently can also be found at Costco! Visit them online and use OMA20 at checkout for 20% off your own pair!

Farmers Defense – Farmers Defense offers a wide range of garden products meant to protect gardeners and farmers from the sun and all the itchy things one will discover in the great outdoors.  This hat is literally my favorite hat.  Follow the link for 10% on your own products.   Or, use OMASGARDENS at checkout!

Note: I earn a small bonus for each purchase.  Thank you in advance for blessing me with that as it’s what enables me to bless you as well with a discount of your own.


Milk and Wine Crinum Lily

The Crinum Lilly is just a classic beauty! It’s long showy leaves and large  heavily scented flowers of milky white and wine make it one of my favorite bulbs.   It bottom line is next to impossible to kill.  It is also one of the few flowers that can do as well in a partially shaded area or a full sunny spot.  And even better, the Milk and Wine Lily is the first to bloom each summer and continues to bloom almost all season long.

Growing Crinum Lilies

The giant Crinum Lily is a member of the Amaryllis family and best grown in zones  6 and up as a perennial.  Its bulbs can get very large and they don’t like to be moved.  Not that one can’t move them.  That is actually one of the reasons the Crinum Lilly runs a bit higher in price than most bulbs. The large main bulb will form many smaller bulbs around their giant center giving the owner plenty of plants for moving around their yard if one wants to do so.   However,  once the Crinum has a home it loves, it will for sure grab hold and want to stay making it one of the tougher bulbs to pull up.

Tips 

  • Plant your Lily in the spring with the Bulb right below the surface.  It will dig down as it grows.
  • Keep the soil moderately moist until it is established. Once established it will take most weather.  I personally water my established bulbs only once a week even in extremely hot temperatures

  • The Milk and Wine Lily will produce long tall stems that hold up to a dozen flowers each.  The weight of one stem gets heavier as the flowers bloom lending at times to the need for staking.
  • Purchase a few of the 24 – 36 inch plant stakes with the loop at the top.   Then, place about 5 of them in the ground around the greenery and just leave them there.  As the stems start to appear just grab one, loop the stem through it and walk off.  Easy peasy!
  • Scotts offers a package of 24 Scott 36″ plant props for around 30 bucks.  I purchased a pack three years ago and have not purchased any since then.  I just move them from plant to plant as I need them.
  • Crinum Lily’s can get very large as they mature. As a result, their greenery or their flowers can sometimes look shabby.  An easy way to take care of the greenery is simply to trim it back.  They clip easily with shears almost like a shrub making the leaves very tidy and nice looking with the tall flowers sitting atop them.
  • To maintain beauty on the flowers snap the wilting flower off the head as they wilt leaving only the remaining fresh flowers on the stem.  This is simple to do as one is walking by the plant.
  • There is nothing like the smell of the Milk and Wine Crinum Lily.  Its fragrance will fill an area.  As such, place it in a spot by a window or patio  so on those hot summer days that fragrance can be enjoyed with company and a glass of lemon aid, wine or a cold beer.

The Milk and Wine Crinum Lily’s beauty,  whimsical leaves, bright flowers and lovely fragrance will make one feel as if they stepped onto an old southern homestead.  In addition, their greenery offers a nice texture to areas around houses or in corners even when flowers are not yet in bloom.


Visit Oma’s Store Front and Grab some for your home while supplies last: Milk & Wine Crinum Lily Bulbs

Follow me on Face Book

Follow me on Instagram

Growing and Caring for Garlic Chives

Garlic Chives are my favorite herb to grow; and, it's not because of the culinary uses, although those are amazing too.  It's singularly because of the beautiful white flowers that sit on long sturdy stems from around July to October.  It's no wonder I received so many requests to confirm what these lovely flowers where when posting some of their pictures!

About Garlic Chives

Garlic chives, sometimes called Chinese chives, are a part of the Allium family and are similar to onion chives.  You can certainly see the family resemblance if you look at the grassy leaves and rounded flower tops.  However, onion chives have more of a purple flower with rounder hollow chive leaves.  Garlic chives on the other hand have dark green flat shiny leaves and brilliantly white flowers.

Tips for Growing Garlic Chives

  • Garlic chives are perennials that can be grown up to Zone 3 and planted in spring either from their seeds (which there is plenty of) or from separation of their root base.
  • Although garlic chives are very hardy, they are most week when young.  They have very tiny tender leaves that are easy to mistake for grass or weeds if growing in an area that is not established for chives.
    60 day old chives

    As such, if growing from seed it's best to start them in planters and move them to their permanent home at around 30 days old.  Or, be strategic in where you plant them so you recognize them when the seedlings start to grow.

  • Chives can grow in full sun. By full sun I mean all day in some of the hottest areas, even those crazy southern states.   They can also do well in shade, on a patio in a pot or under a tree.  They won't however produce as many flowers.
  • Although chives can take the heat and are drought tolerant they do best (grow the largest with the most flowers) with a moderately moist soil.
  • Garlic chives flowers  give their best show after they have established their roots for a season and improve as they get older!  These chives you see here are four years old!  They are quite happy with large mounds of chives and many flowers!

Things to Consider When Growing Chives

Managing the Seeds

Garlic chives make a beautiful addition to a boarder or as you see here growing in front of taller plants.  Gardeners however, need to be aware of their seeds!   Each one of the individual flowers will form a seed pod.  

Start of a seed pod on Garlic Chive flowers.

In all honesty the seed stage of the Garlic Chive is quite beautiful.    Flowers will stay on the stems for at least thirty days while the seeds form and the flowers dry out.  There will be many many seeds and they will propagate themselves where ever they fall.   However, what is left behind on the plant is dried pods that make very interesting dried flower arrangements.  When going through the seed stage, to avoid issues, one should place their plants where they either do not care where the seeds fall, or simply cut the flowers and take them in to enjoy.

Companion planting with Garlic Chives

Planting garlic chives in your garden adds both beauty and sensibility as they are a natural deterrent for insects!  Gardening Know How  (one of my favorite sites) even reports they deter black spot on roses and scabs on apples.  I actually have them growing under my apple tree!      Honestly there are chives growing in multiple places around my yard.   In addition as you can see from the short video below the bees absolutely flock to these flowers. so if your planning a fall garden, having garlic chives blooming should be a must in the drive for strong pollination!

Some key plants that benefit particularly well from chives are:

  • Carrots
  • Grapes
  • Roses
  • Tomatoes
  • Corn
  • Okra
  • Squash
  • Peppers

It is said to be an issue to grow garlic with peas and onions.  I grew my garlic chives within two feet of peas this year and found no issue.  This however may be because the garlic chive does not have the traditional bulb that  garlic has.   Unfortunately, one season does not make a trend as such I will be testing these combinations out some more.

Uses for Garlic Chives

  • Both the flowers and the chives themselves can be eaten.
  • Place chives or the flowers in salads.
  • Use chives for stews or to season meats while cooking them.   I love clipping long strands of chives, placing them on the grill and laying the meats on top of them.  The smell is amazing!
  • Here is a quick video on growing chives!


Growing and Planning for Garlic Chives

Echinacea-Growing Coneflowers

About Echinacea

One of the coolest flowers! There is just something special about this beautiful perennial that shows up in spring on long stems with petals of pink or yellow surrounding a bright orange spiky center. My  opinion is not singular either!  Anyone “asking Google” will find an intriguing history surrounding this herbaceous plant; and, as you can see from the photo it’s loved by bees and birds alike.  So if you’re looking for a pollinating powerhouse or a way to feed those birds you long to bring to you’re yard or gardens echinacea is the plant for you!

Echinacea, also known as cone flower, pink sunflower, hedgehog and several other common names,  originates from eastern and central North America growing wild in prairies and wooded areas.  It is known for its pink flowers; however, you can also find them in yellow, white and several new hybrid colors ranging from red to burgundy and even green.

How to Grow

One of the neat things about echinacea is that it is a perennial so it can be divided and grown from existing roots (should be at least three before doing this) and also grown from its seeds like annuals.  It is not an argumentative plant and will accommodate most soils but does prefer rich well drained soil and full sun defined as six hours per day.

If planting from seed, echinacea produces its best flowers after a winter sleep.  This means they need stratification  and should be planted in the fall to naturally  take advantage of the cold wet conditions needed for the best germination.  If your in an area that does not allow natural stratification, or are attempting to seed in spring:

  • Soak the seeds in water for a few hours
  • Plant them in small seed starting pots and close them in a sealable bag
  • Place the bag in the refrigerator up to 10 days checking regularly to ensure they have retained moisture.
  • Once sprouted you can remove them from the refrigerator and move them to the place you wish to plant them.
  • If it is late in the summer season, keep your seedlings in an area that is slightly shaded for a few days to acclimate them to the new temperatures gradually moving them over a few days time.

Tips:

These beauties do love full sun however in extremely hot climates with high temperatures for long periods of time they will burn and wilt.  To avoid this know your areas and if you’re in one of our hot southern states choose a location that offers them shade in the hotter hours of the day.

Echinacea is a perennial so like many others it can start to look ratty after the blooms of spring.  To extend its life some cut some of the flowers for arrangements as it grows promoting new growth.

If you’re leaving the flowers on to dry for birds or seed propagation cut the stems back to the base as soon as they have dried.   This will enable a new surge of flowers for the fall.

Characteristics:

  • Height:  12 to 36 inches tall
  • Width:  12 to 24 inches
  • Zone:  3 to 8; can be grown in zones 9 and 10 however should be treated as an annual using stratification to ensure proper germination each season.
  • Maturity: 90-120 days

Common Names

  • American Coneflower
  • Coneflower
  • Pink Sun Flower
  • Pale Coneflower
  • Purple Coneflower
  • Echinacea Angustifolia
  • Hedgehog
  • Indian Head
  • Kansas Snakeroot
  • Narrow-Leaved Purple Cone Flower

Also See!

Medicinal uses of Echinacea (Coming Soon)