Meet Richard Chivers, or as I like to call him Spades, of “Sharpen your Spades” on Instagram. Spades was one of the first gardeners I followed over a year ago when I first discovered the #gardenersofinstagram family. He is an avid gardener from Wales, the island of Great Britain, just to the west of England. Over the last year I have watched Spades garden page grow to over 23K followers! If one takes a moment to meander his page, there is no doubt why he is so popular. Not only are his photographs beautiful, they are a sea of calm; and the joy Spades has found in gardening is apparent. Join me on this second episode of Gardening Around the World where I am more than happy to have the chance to interview and share Richards joy, along with a bit of his personal insight into the passion he finds in a garden.

Oma: So Spades, tell us a bit about what drew you to Gardening, when did you start?
Spades: Food actually! I’ve always enjoyed cooking and in 2007, almost by  accident, I grew some tomatoes in a pot in the back garden. When I harvested the fruit later that year I was amazed by the taste and quality. It demonstrated to me that away from the supermarket shelves, there are so many varieties of fruit and vegetables available if you grow your own. I became hooked quite quickly.
Oma: Oh you are totally right about that! I wonder how many of us did that same thing? Accidentally realize how good fresh really is I mean. Because, that’s almost exactly what happened to me! My kids at the time were very little and they had spit some cantaloupe seeds in our yard. When they came up I realized what they were and for fun let them grow right there in the grass in the backyard. It was fun and the best cantaloup I ever had; I was hooked! I had grown up watching my great grandparents garden but I wanted to try more!

Oma: Where is your garden at? Your yard, an allotment or a local coop?
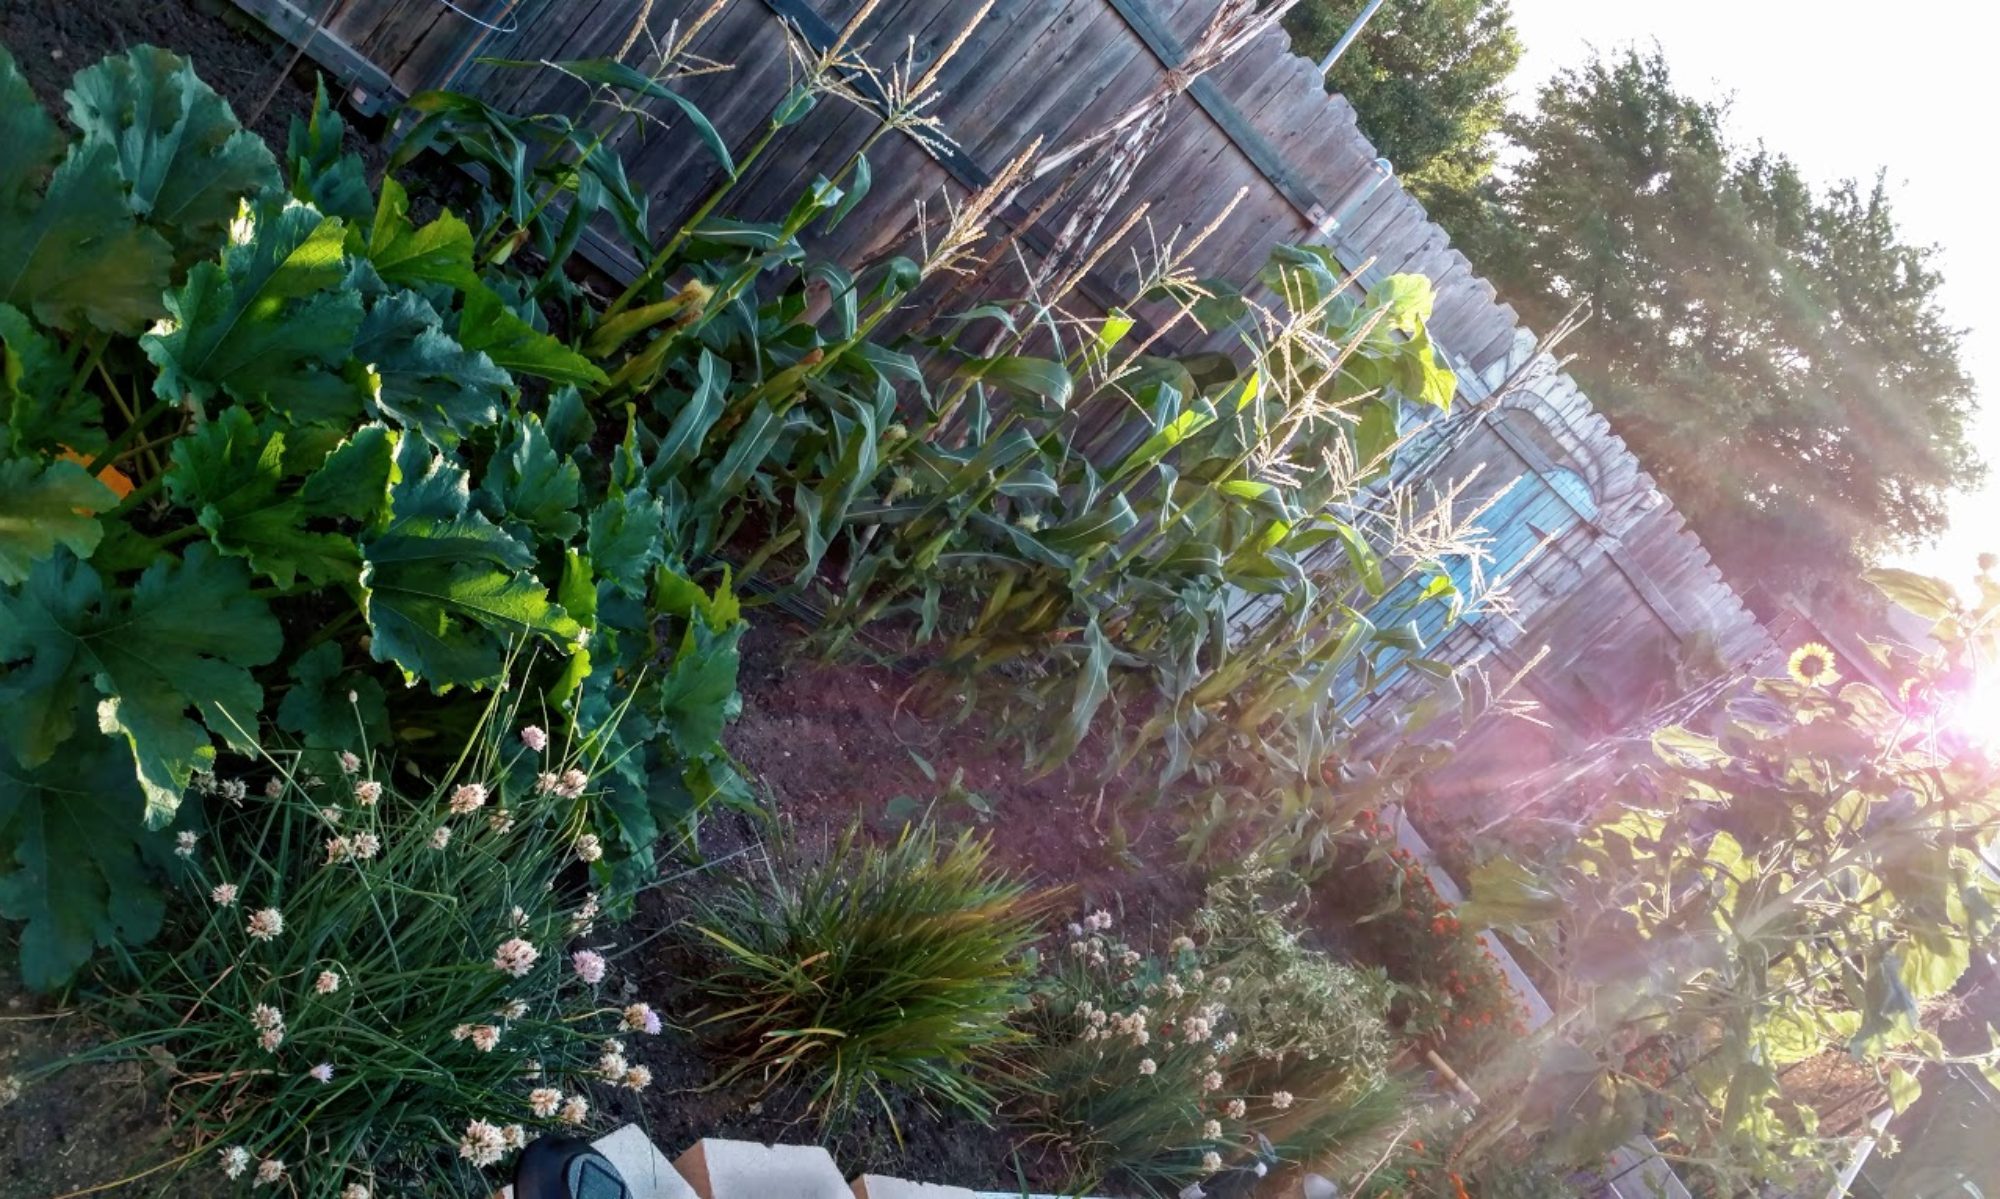
Spades:  I have an allotment garden a few minutes away from my house. Allotments are (usually) areas of land owned by the local authority that are divided into plots (gardens) for people to rent and grow their own fruit and vegetables. They are fantastic resources and often very generous in size.

Oma: I find it so fascinating that some are so dedicated that they make the time needed to actually go to another place to garden!! Why? Because gardening takes time, and life is busy. To not be able to walk out to my yard and be right there is foreign to me and I find It so wonderful that so many do that.

Oma: Tell us about your journey to get to your space? How long does it take you? Do you drive or ride a train etc?
Spades:  Luckily my allotment is a 10 minute walk away. If I drive, which I often do when I have plants and tools to take with me, I can be there in 2 minutes. I agree that it’s much more beneficial to have the garden right outside your house; and, I’d love to have that. However, often in cities, garden space comes at a premium which is why I believe allotments are so important to people and their communities and especially in cities and urban areas.
Oma: This is so true. I didn’t even know about allotments before I started my Instagram journey and reading up on gardening around the world. One thing that learning so much about other people who garden has taught me is how blessed all of us are to have spaces to garden especially those that use allotments or coops. Gardening still takes time!

Oma: How do you make the time to garden; how have you overcome your challenges in order to be successful with your allotment space?

Spades: I think whatever your circumstances, making time to garden is important. I work full time and I try to ensure I manage the time I get to spend at the allotment as best I possibly can. This means I always have a plan of what I want to achieve at the allotment each visit. I have two mini greenhouses in the garden at home and I grow nearly all of my crops in soil blocks, trays and plastic pots there.  This enables me to manage the seedlings close to home and I simply transport them to the allotment when they are ready to be planted out in the ground. I also try to garden in the most efficient way. Time is precious and I want to make it easy and enjoyable to garden.

One way I’ve done this is through no-dig gardening. I’ve learned a lot from Charles Dowding who is a pioneer in no-dig gardening here in the UK. Not only is No-dig better for the soil and therefore the plants, it saves heaps of time in the autumn and winter months which is traditionally the time gardeners break their backs digging the soil over.

Oma: What is the thing you enjoy most about gardening? Spades: Gosh that’s a hard question. Oma: Kinda is right??
Spades: It’s more than one thing.  Growing food is incredibly rewarding. To nurture a plant from seed to the point that it provides its fruit is a wonderful feeling. It feels worthwhile. Gardening also provides a direct connection with nature and the environment. Something I feel modern society has lost. I know that simply being in the garden is all that I need to relieve stress and to improve my wellbeing.
Oma: Yes, I sometimes wonder what it would be like if we all once again had a Kitchen Garden. That space right outside our kitchen that held our herbs and spices and vegetables.  From a stress perspective, I think I hear that the most, the stress relief I mean. I used to work in a high impact high stress position. Hours of upwards of 60-70 a week was an often occurrence. Being the weekend gardening warrior was sometimes the only thing that kept my sanity! Gardening is not always easy though.

Oma: What is the thing you like the least about gardening? Spades: Not having as much time as I would like to do it!
Oma: Hahaha yes! We could all use more garden time…. Hey…. that sounds like a sign I need to paint??

Oma: What do you feel is one of the biggest challenges of gardening in your area; and what do you do to overcome this challenge?
Spades: I live in Wales, which is probably the wettest area in the UK. We get a lot of rain. This clearly has benefits and it’s rare for us to suffer in a dry spell (although the climate emergency has clearly changed that as our recent summers have shown) but it can also be challenging. 
I use raised beds and no-dig to ensure the soil I grow in is in the best possible health and structure. The allotments can often flood – especially in winter, but raising beds and not digging or tilling the soil has really made a difference on my plot.

Oma: What is your favorite plant to grow and why?
Spades: That’s difficult too! I like everything I grow which is why I choose to grow it.  In terms of vegetables I might pick Beetroot and Tomatoes. I enjoy them both and the beets are relatively easy to grow and the tomatoes are just an abundance – you can’t beat the flavour of both when they are home grown and fresh.
Oma: There is just something about the tomato right? Seeing those large beautiful red or orange or green babies; there is so much you can do with them. The funny thing Is they are actually not the easiest plants to grow in all areas but people still go for them. Perhaps that adds to the allure, conquering the challenge and all! Having grown that perfect tomato!

Oma: Do you want to try and grow something new this next season; if yes what?
Spades: I think it’s important to grow something new each year. Not  necessarily a new crop but perhaps a different variety of a crop you enjoy eating. It’s one of the best things about growing your own food, the varieties are incredible. This year will be some new pepper varieties and I try to pick a new pumpkin or winter squash to grow each year too
Oma: I love that, yes!! Variety is one of the reasons I love  painting plants so much. Not only are they beautiful, there are so many different kinds of the same plant. Squash for example, or cabbages or lettuce. I can paint them over and over again and always paint something new. Which makes your statement so right on; there is always something to grow and still be within the range of what one likes to eat.
Oma: Who inspires you? If you could meet any gardener you wanted to, who would it be and why?
Spades: I have a few I’d like to meet who have inspired my gardening. I’ve been lucky to meet Charles Dowding twice in the last few years – his books have

been my number one source for growing vegetables on the allotment. I would love to meet Joy Larkcom who I feel like I know through her fantastic books on the subject and I’d really like to meet Eliot Coleman (New Organic Grower).
Oma: Spades, thank you so much for taking the time to talk to a gardener such as me. We gardeners learn so much simply being around or talking to those that love gardening.
For all of you garden lovers out there give Spades a shout out, tell him Oma says hi and visit his blog at sharpenyourspades.com or Instagram: @sharpenyourspades and Twitter: @spadesharp


 This week I started tomato seeds for the spring garden! I grow them becasuse fresh is best and the health benefit of tomatoes make them even better. However, I just can’t help that

 The tomato is actually a fruit! This does make sense as tomatoes are full of juice when sliced open. However, the

 Potassium: I personally feel the benefits of potassium are underrated, it is afterall an electrolyte. According to
  Vitamin B9: Used for tissue growth and cell functions!
 If one truly wants to appreciate the taste and health of tomatoes one should grow their own. Many of our foods today are sprayed and grocery store tomatoes are often harvested and transported in their green stage making them immature. Food companies can be known to use artificial ethylene gas spray on tomatoes to improve their beautiful red coloring during this immature stage. This process, although good at exposing color, puts a damper on their natural development and hinders the flavor


 germinate. I stubbornly refused to get one for years. I do have peppers every year so it’s not a complete loss to go without a mat. However, I struggled with germination on many hot peppers simply because of their strict need for heated soil. Once a mat was obtained results in the number of plants actually germinating improved right away! Vivosun has some very good options for mats. They are also terribly simple to use so highly recommend this gem.


 Time to harvest is litterally the time it takes a plant to actually produce fruit! The grwoth time before your eating your produce! The “Time to Harvest” is most often found on the front or back of a seed packet and can range anywhere from 25 days up to a much as 100 days.
 I took a deliberate walk around the gardens this morning. What did I find? Life; little signs of spring, or even better signs of life, all around me. The rebirth of so many things. It’s no wonder so many people feel this is their absolute favorite time of the year. What better time is there for planning and to refresh one’s mind then this new life stage? As Solomon said in his songs, “See! The winter is past; the rains are over and gone. Flowers appear on the earth; the season of singing has come, the cooing of doves is heard in our land… Arise, come, my darling; my beautiful one, come with me.”
 The first step in preparing your existing beds for spring is simply walking your space! Just as I did today grab a nice cup of coffee and walk your gardens. This is not a journey of work but one of discovery!


 However without a doubt I will continue to have freezes on and off through the end of March. As such, I should hold on my urge to remove this dead foliage until I know for sure my cold is truly gone. Why? This bit of leftover foliage offers warmth for the new babies underneath them. How will you know when?
  patterns. One should trim within a week or so of what is considered that last freeze in your area. If you have plants you’re not sure of you can reach out; we can figure it out!
 If it’s an existing bed probably a few bags in each of your spaces will be plenty. Work it into your existing soil spreading it across your beds. This picture here is for both new beds and a refresh of old! Therefore, the amount you need could vary based on the size of your beds and rather they are new or not!


 Some of my earliest memories are of me in the garden with my mum and dad, picking beans, planting flowers, sitting in the sun, enjoying wheelbarrow rides, watching bees and trying to catch skinks (Oma: What is a


 The texture and structure of the soil is how it is put together, how it moves, handles water, and allows plants to grow. As such, soil texture is paramount to ones garden. Soil should have a crumb structure and be friable, (easily crumbled). It should also have good porosity so air, water, roots and organisms can move freely within the soil. This is a balance game though. Why? Because soil that is too friable probably has poor aggregate stability, it won’t hold structure well or retain water well. If on the other hand it does not break apart at all, it’s too hard, cemented or full of clay there will be issues; organisms will not be able to move through the soil.


You must be logged in to post a comment.