
So you want to start a new garden? Outstanding! I like to say, “planting a garden is the first step to true serenity.” It can also however, be the first step to frustration and anger if one does not plan appropriately. So where do you start; there are so many things to consider when planting a garden? For example: What plants do you want? Do you want flowers or vegetables or trees or all? Are you doing landscaping for your front yard or planting for your backyard? Do you want a personal retreat or a public oasis? Maybe you’re just trying fix that corner that’s been bothering you for years! Regardless, you wish there was a checklist you could look at to guide you through this process. Well… here you go; eight steps to a new garden!
Garden Steps Checklist
Below is a simple checklist that can be used covering 8 steps to a successful new garden space.
1: Location, Location, Location!

Look closely at the location you’re considering. Always ask the following questions when deciding where a new garden location will be:
- What is the direction of the sun in relation to the potential location?
- Are there Structures Around the area?
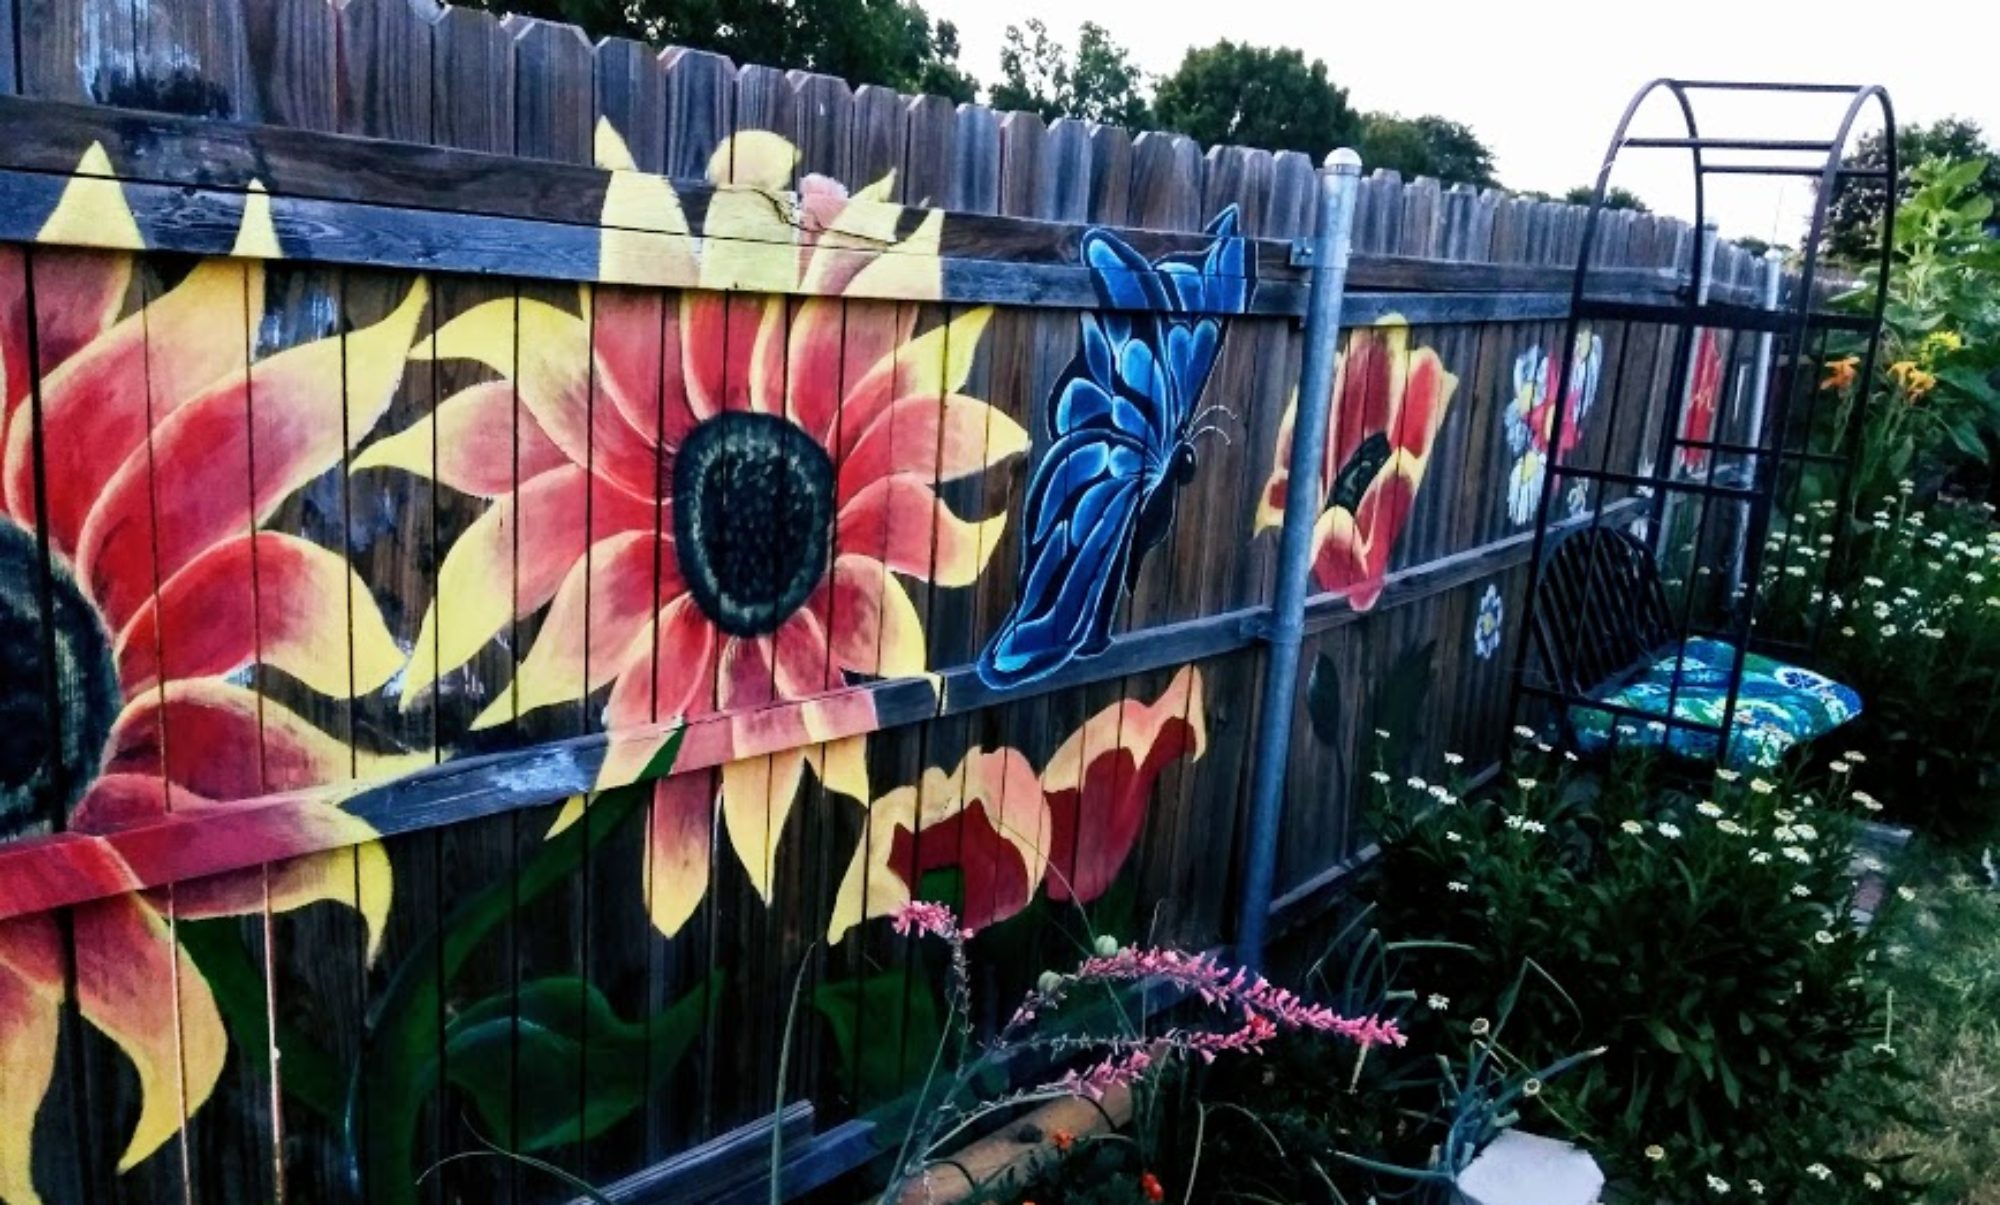
- Is there an existing garden in the location or will this be a new garden?
2: Soil; the foundation of your new garden!

The health of your soil is as important as the foundation on your home!
- Work this item in combination with Step 3 as you may have to consistently modify as you determine the types of plants preferred!
- What is the texture of the soil?
- What is the drainage of your soil like?
- What amendments do you need?
3: What plants work best in the selected location?

- How much time is available for plant maintenance?
- Will the plants wanted still work in this spot?
- Tie 1 and 2 together! Is there a need to modify original thoughts on the location or soil?
4: Landscape

- Based on 3, What design will support the space?
- Allowing for proper drainage (Use knowledge from Step 2 for landscaping needs surrounding drainage)
- Is there a need to add trees or other tall plants to support primary plants?
5: Planting Time A: !

Transplanting or Sowing which is best?
- Transplanting
- Direct Sowing
6: Planting Time B!:

- Structures Needed for Plant Support
7: Watering!

- Training plants to Survive!
- Help Plants Survive the Heat!
8: On-Going Maintenance

- Trimming
- Weeding
- Harvesting
Did this checklist help you?
- Check out the full article and Video on Step 1: Location, Location, Location


 pull them up and clean them for drying.


 For tepees utilize heavy garden twine to tie the stalks together; or, twists that are stable enough to hold them together. It’s also helpful to dig out the area the tepees will fill prior to tying them up.


 The Skyscraper Sunflower is just one of the funnest sunflowers to grow!
 sunflowers there is to grow! This baby here grew fifteen feet high and was actually slightly taller than the roof of my house! As a result, you can see from the photo above the flower head was a good thirteen inches across. Not only are the flowers beautiful the drying stage and the seeds are beautiful as well.


You must be logged in to post a comment.