Growing healthy roses can be one of the most enjoyable things to do… it can also be frustrating as they tend to get hit with things like Black Spot or other similar diseases. Here are a few Quick Tips to help your roses thrive:
Keep the Leaves of your roses Dry! Always water your roses from the base at the ground level. Keeping your leaves dry will detour common rose diseases like Black Spot.
Put Space Between your Plants! Plant your roses with a minimum of three to four feet between them. This can do wonders in keeping diseases from jumping from plant to plant within your space.
Feed your Roses Epsom Salt! Roses need Magnesium sulfate to grow strong and using a monthly regime of Epsom Salt will help keep them that way. Read more about Epsom Salt on the Quick Hit: Epsom Salt Once a Month!
Use Coffee Grinds in your Rose Beds! Roses like a slightly acidic soil. Coffee grinds in the beds add organic matter and a small amount of acidity. Feeding them monthly with your left over grinds is a natural way to feed your beauties! read more about Coffee Grinds in the article: Using Coffee Grinds in your Garden.
Add Banana Peals to your Rose Beds! Banana peals have a high level of natural potassium. Adding them to your soil is a great way to increase your roses potassium levels naturally and you don’t even have to decompose them. Simply bury them below your roses and watch them thrive!
Managing Black Spot
Even with these tips most rose gardens will face Black Spot, (also known as Diplocarpon rosae) on the leaves of their roses. Black Spot turns the leaves yellow and a classic black spot and will spread quickly from leave to leave.
Black spot hits in cool humid weather normally between 70 and 80 degrees. Which is why it’s commonly seen attacking our Texas roses in the spring time. There are a few things one can do to avoid black spot.
Follow No Water on Leaves rules as listed above!
Spray a Neem OilMix of 2 tsp. of Neem to 1 Gallon of Water and 3 tsp. of soap and spray your leaves. I use Rejuve Naturals.
Use a Baking Soda Mix of 2 tsp. baking soda to 1 gallon of water and 2 tsp. of dish soap to create an alkaline chemical condition on the roses and spray it on the leaves. The alkaline makes it difficult for the fungus to adhere to the leaves!
Using some of these small steps will help your roses perform better for you all year-long!
I took a deliberate walk around the gardens this morning. What did I find? Life; little signs of spring, or even better signs of life, all around me. The rebirth of so many things. It’s no wonder so many people feel this is their absolute favorite time of the year. What better time is there for planning and to refresh one’s mind then this new life stage? As Solomon said in his songs, “See! The winter is past; the rains are over and gone. Flowers appear on the earth; the season of singing has come, the cooing of doves is heard in our land… Arise, come, my darling; my beautiful one, come with me.”
How can you prepare your existing beds for spring?
For a gardener there is no better time than spring! We plan for it all winter and long for it all summer! Although Fall does offer just as much growth it still seldom rivals the feeling of life we find in spring. Yes, there are a few simple steps we can take to prepare for its greatness!
1) Walk your space
The first step in preparing your existing beds for spring is simply walking your space! Just as I did today grab a nice cup of coffee and walk your gardens. This is not a journey of work but one of discovery!
Your goal here is to simply open your eyes to what life is appearing from last season. Find what is coming back or what needs removed. Most gardens, even if all annuals, will have some sign that it’s time to prep for spring.
2) Look for New growth
Did you have roses, trees, or perennial flowers? Check for signs of green
coming back around the dead growth. For roses those signature bright purplish red leaves that show up in spring or, for fruit trees the small buds starting to form on the branches from last year. Make note where its coming up and also make note of any dead growth left from last season.
3) Look for residual or dead foliage
Look for green coming up around dead foliage from the last season. This is a great sign that your plants are doing well and are as ready for the spring as you are! Notice if there is dead foliage around the new and plan for the best time to start to cut this back .
4) Plan for trimming and clean-up
Most of your plants that return annually will need some kind of trim or clean up. However, don’t be too anxious to do this. More than likely you will see the first signs of life on your walk several weeks before you should clean off the old. For example: I am in Zone 8. My signs of spring most often start to show up towards the end of February. I see new growth on my lavender, daisies etc. However without a doubt I will continue to have freezes on and off through the end of March. As such, I should hold on my urge to remove this dead foliage until I know for sure my cold is truly gone. Why? This bit of leftover foliage offers warmth for the new babies underneath them. How will you know when?
Follow your weather patterns. One should trim within a week or so of what is considered that last freeze in your area. If you have plants you’re not sure of you can reach out; we can figure it out!
5) Prep your bare garden areas
Make note of any bare spots you have. The places in your beds that will hold all your new plants such as peppers, tomatoes, corn, beans etc. Do a quick soil test See: Step 2 of a Successful Garden: Soil Assessments and check if you need refreshing.
Add fresh compost! If you have not added fresh soil in a few seasons then you probably need a few bags. I like to refresh annually with Black Kow compost. If it’s an existing bed probably a few bags in each of your spaces will be plenty. Work it into your existing soil spreading it across your beds. This picture here is for both new beds and a refresh of old! Therefore, the amount you need could vary based on the size of your beds and rather they are new or not!
Add fresh peat moss twice a year, once in spring and once in fall. Peat Moss can be controversial for some. It is 100% natural which is why I love it, however it’s and taken from the bogs and this is where some have concern. As such, I try to not use it excessively more as a winter and spring prep! Coconut moss is also an option if one prefers not to use Peat.
Add leftover banana or orange peels in with the fresh compost!
Add all of your stored coffee grinds at this time along with eggshells you have been holding over winter! Mix all of these items in with your existing soil at least three weeks before your first plants go in! Allow it to sit in your beds and start their decomposition process while starting your seeds.
In Closing!
Starting your spring prep process can be so fun! Yes, it’s work of course but it allows you to see the life that is just around the corner! To envision what is coming and clear your mind of what has been! This walk motivates you to get out there and enjoy your first blast of warmth after a long season of cold.
And, it doesn’t hurt either if you whisper to your gardens in the words of Solomon… “Arise, come, my darlings; my beautiful ones, come with me,” spring is upon us, and my life and your’s is beautiful!
Do you want to read more of Oma’s articles! Make sure and register to receive notice of new content via email!
One of the things I find most interesting about gardening is all of the people who find joy in doing it! How so many of us can just love this thing called gardening! The process of watching life form around us and being a part of making that happen. The other things I find amazing is how all gardeners face different but similar challenges; or; how one side of the world can be facing a winter garden while another is facing summer heat. These are a few of the things that drew me to start this new series. One that will hopefully introduce all of you to the many gardeners around the world, why they love it and what challenges they face. My goal is to support those around me that garden, to learn something new and as always help promote that love to anyone that may be wanting to start on their own gardening journey!
Meet Ingrid!
Ingrid, of Gardening With Ingrid lives and gardens in the great country of Australia with her husband and young son! Australia is 9429 miles from the United States! It would take me a 14 hour plane ride to visit Ingrid! Australia is most known for its amazing beaches, being the home of the
great barrier reef and many that love to garden. After all ABC even did an article 2016 featuring some of the new young faces taking on gardening called the The Hip Young Faces of Gardening!
I of course represent the more traditional view of what people think of when they consider gardeners. One that has aged and is ready to spend their days tilling the soil and planting seeds. However, it is a joy for us older gardeners to see those younger than I finding that same love. And even more so understanding what drove them to this love. As such, grab some coffee and join me for a moment on the interview with Ingrid where we discuss some of her experiences and love for gardening more and more are starting to enjoy.
What drew you to Gardening, when did you first start?
Some of my earliest memories are of me in the garden with my mum and dad, picking beans, planting flowers, sitting in the sun, enjoying wheelbarrow rides, watching bees and trying to catch skinks (Oma: What is a Skink?? Ahhh.. a Lizard!!) I have always been an outdoor kid and still prefer to be outside far more than inside.
My Granddad also had a lovely property with a big garden that I remember riding the ride-on-mower about, raking autumn leaves and picking blackberries. There is something about the garden, when you really get stuck into a task like planting or creating a new bed, that is so rewarding and satisfying when complete! It somehow brings meaning to life, well..meaning to my life anyway!
Oma: Isn't it amazing how so many of us learned to garden from our grandparents?! Being a grandma now I truly hope to also carry that love forward with my grand babies.
Where is your garden at? Your yard, an allotment a local coop?
In my backyard. I have a front yard too but have planted that with fairly low maintenance plants. Mostly I’m in the backyard doing things.
Oma: This makes me giggle because I too have a front bed... but its a mess!! One would never know the treasure in my back yard!
What is the thing you enjoy most about gardening?
Making changes to the garden to improve or create new spaces. I love how the choice of plants can change the whole feel of an environment and create a place that you want to spend time in.
What is the thing you like the least about gardening?
Maintenance… I’m not a big fan of cutting lawns! I would rather eat them!
Oma: uhhh yes!
What do you feel is one of the biggest challenges of gardening in your area?
Picking plants that can tolerate harsh weather. We have hot, dry Summers here in Melbourne but the weather can change so quick and be cold and raining the next. If feels as if we can have all four seasons here in a day! Plants have to be tough to tolerate this.
Oma: We have this in common in with Texas, it is sometimes so unbelievably hot in Texas!! Here are some of the things I do to help my plants survive the heat! Helping Plants Survive the Heat
Do you have a funny gardening story?
I was wondering once why my apples and pears from the lower branches kept disappearing from the trees even though I had them both netted. So I went out their one evening and hid to catch the thief and to my surprise along comes my Labrador, who proceeded to get under the netting, reach up the tree with her front legs, pluck a pear from a branch and take it to the lawn to eat!
Oma: Hahaha, good thing he is so darn cute!! I guess even dogs understand the importance of healthy choices!!
What is your favorite plant to grow and why?
Oh this is a hard question for me as I love to grow so many different plants and I think my favorite changes season to season. I am a huge fan of David Austin Roses and thoroughly enjoy Spring and Summertime when I can enjoy fresh blooms inside but if I had to pick one it would be my pomegranate tree. It’s so hardy and low maintenance once it is established. It has lovely foliage and my Son and I just love to pick the fruits in Autumn (Fall) and enjoy eating them sitting on the grass together. So I guess any plant that has an associated fond memory is a favorite of mine to grow!
Oma: I agree I love my pom tree as well; the flowers are lovely and the fruit is amazing and they love the heat, you can't lose with that!
Do you want to try to grow something new this next season?
Oh I was sooo excited to grow cucamelons this season but I lost all of my seedlings due to birds and slugs 🙁 So they are a must for next years Summer planting!!
What advice do you have for new gardeners?
Don’t be frightened to give it a go. Plants sometimes die but don’t let that put you off-try to work out why and learn from your mistakes. Remember plants want to survive, it's all about giving the plants the position, soil and water they love to thrive in.
Do you offer any gardening services if so what and how do people reach you?
Yes I offer gardening consults and assist people who want to grow from home and turn their garden into an edible garden. They can message me through instagram: Gardeing.With.Ingrid or my Facebook: Gardening with Ingrid and email me at ingridsgardendesign@gmail.com
If you could interview anyone about their garden who would it be; and what is the one thing you would ask them?
Picture by https://www.telegraph.co.uk/news/2016/07/29/monty-don-the-good-life-is-the-route-to-madnessand-bad-breath/
Oh I’d love to interview Monty Don and... one question… that is hard! I would love to ask him lots of questions but I would ask him ‘What is his favorite garden he has ever visited and why?
Oma: Oh my goodness, that's a GREAT question!! Well, Let's give a shout out to his insta page on this article and see if by some stroke of luck we can get that answer!! In the mean time BBC Gardeners World has a great Facebook group called BBC Gardeners World Magazine group! You should give them a follow as all the gardeners from the UK are so fun to learn from!
That's it for this first article!! Leave me a note on any other questions you would like to hear about and give Ingrid a follow, I am sure you will enjoy her posts and stories as much as I have!
The Crinum Lilly is just a classic beauty! It’s long showy leaves and large heavily scented flowers of milky white and wine make it one of my favorite bulbs. It bottom line is next to impossible to kill. It is also one of the few flowers that can do as well in a partially shaded area or a full sunny spot. And even better, the Milk and Wine Lily is the first to bloom each summer and continues to bloom almost all season long.
Growing Crinum Lilies
The giant Crinum Lily is a member of the Amaryllis family and best grown in zones 6 and up as a perennial. Its bulbs can get very large and they don’t like to be moved. Not that one can’t move them. That is actually one of the reasons the Crinum Lilly runs a bit higher in price than most bulbs. The large main bulb will form many smaller bulbs around their giant center giving the owner plenty of plants for moving around their yard if one wants to do so. However, once the Crinum has a home it loves, it will for sure grab hold and want to stay making it one of the tougher bulbs to pull up.
Tips
Plant your Lily in the spring with the Bulb right below the surface. It will dig down as it grows.
Keep the soil moderately moist until it is established. Once established it will take most weather. I personally water my established bulbs only once a week even in extremely hot temperatures
The Milk and Wine Lily will produce long tall stems that hold up to a dozen flowers each. The weight of one stem gets heavier as the flowers bloom lending at times to the need for staking.
Purchase a few of the 24 – 36 inch plant stakes with the loop at the top. Then, place about 5 of them in the ground around the greenery and just leave them there. As the stems start to appear just grab one, loop the stem through it and walk off. Easy peasy!
Scotts offers a package of 24 Scott 36″ plant props for around 30 bucks. I purchased a pack three years ago and have not purchased any since then. I just move them from plant to plant as I need them.
Crinum Lily’s can get very large as they mature. As a result, their greenery or their flowers can sometimes look shabby. An easy way to take care of the greenery is simply to trim it back. They clip easily with shears almost like a shrub making the leaves very tidy and nice looking with the tall flowers sitting atop them.
To maintain beauty on the flowers snap the wilting flower off the head as they wilt leaving only the remaining fresh flowers on the stem. This is simple to do as one is walking by the plant.
There is nothing like the smell of the Milk and Wine Crinum Lily. Its fragrance will fill an area. As such, place it in a spot by a window or patio so on those hot summer days that fragrance can be enjoyed with company and a glass of lemon aid, wine or a cold beer.
The Milk and Wine Crinum Lily’s beauty, whimsical leaves, bright flowers and lovely fragrance will make one feel as if they stepped onto an old southern homestead. In addition, their greenery offers a nice texture to areas around houses or in corners even when flowers are not yet in bloom.
How do you use your corn stalks? I know several of you across the globe from me in places like Australia are gaining momentum and starting to hit your summer months in what is my winter! That means if you have planted corn your close to harvesting those babies and will be left with rows of corn stalks, leaves and husks. Those of you in the states like me in January are planning for your corn beds. As your seasons progress keep in mind some of the benefits of the corn stalks and leaves.
To Compost or Not to Compost
I used to throw all of the entire plant in the composter. However, over the last few seasons I have started composting the husks as soon as I peel my corn and using the stalks and leaves real-time in my gardens as a natural wordless mulch!
Mulching your beds is great for moister retention and helps with water maintainance. However, using only wood mulch at times can make it hard to get into the dirt. Personally, I like to be able to easily move my soil. In addition, if you’re in an area prone to termites and your beds are around your house, using wood mulch that will consistently be wet or moist may not be the best thing for your home.
Using your corn stalks in your beds
There are so many alternatives to using only wood. Your gardens plants can make some amazing mulch especially plants like asparagus and corn. Consider allowing your stalks a bit of time to die down after your corn is harvested. Let them stand until they have lost some of their green. You can still plant below them as they start to die. Leaving them in the soil for a bit actually looks cool! More so however it helps return some of those used nutrients back to the ground.
Once your plants have lost some of their green lift them from the beds and chop them into small pieces. They will decompose faster this way. Lay them around your plants as you would mulch; or, till them into your beds. Both of these methods will help put organic matter back into you soil!1
The health of the soil in ones garden is as important as the foundation of their home! As such, once someone has decided where they want to place a new bed, or even if they are using existing beds over and over again each season, an assessment of the soil should be completed. There are so many things to look at when it comes to soil one might wonder where to start. Two primary options when determining the validity of your soils are:
Having your soil tested.
This process can take up to two weeks. Stick around and I’ll share the ins and out of this as I go through a soil test for my beds in spring.
Performing a self assessment of your soil.
Self assessments are what I have used through the majority of my gardening life. One does learn over time to look for specific signs that will help them determine the health of their soil. However, self assessments can be risky for new gardeners unless they have a good guideline on what to look for. Luckily there is a very structured process one can follow that was created by Oregon State University to determine the health of a garden’s soil.
Oregon State recommends five assessments a year covering 10 steps ranging from soil to water to plant life. We will review each of these steps in a series of articles and how to videos over the next few months. However, let’s kick off the bulk of the assessments by focusing first on soil health and how to asses the texture and structure of your soil
Soil Assessment 1: Texture and Structure
The texture and structure of the soil is how it is put together, how it moves, handles water, and allows plants to grow. As such, soil texture is paramount to ones garden. Soil should have a crumb structure and be friable, (easily crumbled). It should also have good porosity so air, water, roots and organisms can move freely within the soil. This is a balance game though. Why? Because soil that is too friable probably has poor aggregate stability, it won’t hold structure well or retain water well. If on the other hand it does not break apart at all, it’s too hard, cemented or full of clay there will be issues; organisms will not be able to move through the soil.
Many things can impact the quality of your soil. Day-to-day life, weather, erosion, what and when one plant, as well as tilling or not tilling can impact positively or negatively a gardens soils texture.
Completing the Assessment
First off ensure your attempting your assessment when your soil is neither too dry, too wet or frozen. You will need a shovel (or tool to dig into the soil with) and a spray bottle with water.
Choose a few areas of the garden that is considered representative.
Dig a 6 – 10 inch deep area
Scoop up a portion of soil that is about the size and volume of a can of soup.
Review the soil, are their crumbs, clumps of clay, granular soil only?
If there are crumbs present squeeze them and note the amount of pressure it takes to collapse them while dry.
Gently wet some of the crumbs and try to collapse them while wet. Does this require more or less pressure?
Assessing the Findings
Lowest health: Soil has powdery, massive or flaky structure without any visible crumbs.
Moderate Health: There are some crumbs present yet they break under slight pressure. They are also far more fragile when wet.
Best Health: Soil is friable and crumbly! It has a clear crumb structure that maintains its shape under pressure even when wet and can also still be broken between one’s fingers!
Four easy steps to improve least desirable results
1: Allow plants to decompose naturally if possible.
Late summer flowers naturally dying down
Allowing plants to decompose naturally is important to an organic garden. Not only that but if done correctly adds beauty to a garden and another season of life. Decomposition promotes organic growth in the soil. On the other hand leaving soil completely empty for long periods of time can drive erosion or overly compacted soil making it hard to manage or work through.
2: Have clear walkways through your garden!
Stone Path for getting through the center of the garden
This is one of the simplest things to do. Consider what one weighs. Consistently walking through the beds one is planting in can compact the soil to the point that it is no longer friable. Therefore, create beauty and character in your garden while also respecting your soil by laying small stepping-stones through your beds. Create committed walk ways such as my path directly down the middle of my large beds here. Plan for clearly laid out walkways between plants. Giving enough room to walk through for harvest but not touching the base soil the plants are thriving in.
3: Add organic matter to your soil!
Using dried corn leaves for mulch
Organic matter promotes organisms in your garden that break your soil down, It also promotes drainage and worms. Here are some cheap and easy ways to add organic matter to your soil.
Grow companion plants that support your main crops but easily break down in your garden all summer long. Borage, Comfrey, Yarrow, Marigolds
4: Use cover crops in the winter.
Garlic in Winter
In my experience the best cover crops are winter garden plants such as snow peas, cabbage, sweet peas, lettuce, radishes, garlic and other plants that love the cold.
These plants not only keep your soil busy but enable you to continue to eat the freshest foods available over your winter months. Other options are grassy plants, that die down easily preventing the need for heavy tilling such as alfalfa or buckwheat,
Want to see more?
Register with Oma’s Gardens and get notified as these and more steps are completed surrounding soil assessments over the next few weeks:
Compacted Layers of Soil: Garden Soil Assessment 2
Soil Work-ability: Garden Soil Assessment 3
Soil Organisms: Garden Soil Assessment 4
Earthworm Abundance: Garden Soil Assessment 5
Water Infiltration and Availability: Garden Soil Assessment 6
When one mentions tomatillos to me the first thing I think of is green salsa! Spicy green salsa at that or slightly brownish orange salsa! The color that’s created when one mixes tomatillos with their cousin the red tomato. The second thing that comes to mind is the signature lantern or balloon like husks they grown in. This is one characteristic that is so unique to the tomatillo and also makes them such an interesting plant to grow in your garden.
About Tomatillos
Tomatillos are native to Central America. According to Bonnie Plants they can be found growing wild in fields along with corn and beans. This is not surprising actually because if you have ever grown them they tend to act like a wild plant. Meaning they attempt to sprawl everywhere. They also grow very tall reaching heights of five feet or more and at least four or more feet wide. As such if your planning to grow tomatillos plan for space as they take lots of room!
Growing Tomatillos
Tomatillos can be grown with similar conditions as tomatoes. However, Unlike tomatoes who can be very finicky and sometimes hard to grow, the tomatillo, if grown correctly will produce abundantly allowing for many of the amazing Mexican food dishes we all love and plenty of canning. There are a few things to keep in mind when growing these green babies:
You can’t grow just one! And that is a literal statement! One of the more interesting requirements for tomatillos is they must cross pollinate. As a result one must always grow a minimum of two. I personally prefer four to six in my beds.
Plan for their size! Tomatillos are big plants! They have long arms that will fill with husks and get heavier as the fruit matures. They require sturdy cages.
Full sun with shade! Tomatillos can take the heat fairly well for tomatoes; however like their cousins they flower and produce the most fruit in 80-90 degree weather. As such, plant them in an area where they can obtain some shade in the hottest parts of the day during high heat.
Keep them healthy in the hot summer months and you will have fruit both spring and fall.
Tomatillos require heavy pollination and as mentioned before cross pollination. As such plant them with other flowers that will be sure to draw the bees!
Planting
Start seeds indoors about 6 weeks before the last frost unless you are in a zone that allows for warm nights.
I prefer to plant in sets of two with about 6 inches between them and a minimum of three sets. Space sets at least 4 feet apart. This works with one plant as well just space them apart the same as a set.
Tomatillos like well-drained rich soil and full sun.
Harvest your tomatillos when the husks are well filled and the fruit is a bright green.
If the fruit starts to turn a lighter yellow they are at risk of becoming overripe!
Companion Plants
Basil (let some bloom!)
Parsley
Marigolds
Daisy’s
Zinnias
Onions
Garlic
Carrots
Artichokes
Plants that should not be grown with tomatillos due to cross pest action
Sometimes this is my favorite place to be. Right here in an empty dying bed. Against a fence line still in PJ’s with coffee and quite. The left over struggling plants at my feet and around me. The gardens not clean it’s not really alive but it is waiting! It’s waiting for me to decide what i want it to become. For the planning yet to happen! How i want it to look and smell and the colors i want it to show.
Impression
How many things in life do we get to mold that completely? Our children are probably the only other thing we have that much power to impress our thoughts upon. Even they however will take their own path. I suppose plants will too at times. You plan one thing and something else comes out of it! But.. like your children when it turns out right the garden is a wonder to behold! That’s what i can do here along this fence when the garden is dead; plan for the wonder. Plan for the beauty and the life an empty garden promises to bring! Find your fence line folks, happy Friday!
So you read the Eight Steps to a Successful New Garden and want a bit more details! Great! This article covers in detail Step One of a New Garden: Location! It also covers each of the sub items one should consider when looking for a good location. So…. let’s get started!
Location, Location, Location!
They say this in real estate and it applies for gardening as well! Wait.. not plants? No. Plants are important and one should have an idea of what their wanting to plant. Several of these steps somewhat work together and one will find themselves at times considering them all! However, the location plants will reside is more important. Not dirt? No. Not dirt location!
In my humble experience location is the number one thing one must consider when starting a new bed. Why? Simply put, how important is ones home to them? The spot one is planting in will be the home to their plants. The location selected for a garden will be where they live and thrive. Just as humans look for a home that “feels” right,” ones garden will 100% define if plants “feel right” growing there. And believe me you want your plants feeling right.
Another reason to consider location first is it forces the advanced thought and planning needed in all future steps. especially planting and landscaping steps. One can modify their space once a location is established, to a point; however, some limitations cannot be modified. As such, when looking at location options, consider these sub items before making a final decision:
A: What is the direction of the sun in relation to the potential location?
The direction of the sun in relation to a garden is paramount. My very first garden was a failure because I did not consider this in the vicinity of my location. What happened? I selected a spot that faced west and then planted shade loving plants! What, they were pretty? They looked so lovely there! Until, they burned from the west sun.
The direction of the sun will not necessarily stop an individual from planting in said location. It can however, define the kinds of plants one can sustain in the area being considered. It may limit ones options and require planning to overcome issues of too much or too little sun.
My space for example would have been fine if I had understood the importance of the sun. Tall plants or objects placed around the shade loving babies I selected could have protected them. Therefore, when considering a location study the sun and make note of the following:
Does the location face North, South, East or West?
Make note of the sun’s intensity (is it full, partial or shade)?
Study how the sun looks in the morning at noon and in the evening and make note of the differences.
Doing this ensures by Steps two and three (Soil and Plants) there has been thought in regards to the sun and its power. It also helps plan for Step 7 Watering!
B: Are structures near the potential location (s)?
Consider in advance what structures surround prospective locations! For example my shade loving plants, where that west sun hit, set against a big brick 1house. I may as well have set them in an oven. West sun hitting hot brick all day long? Oh yeah it was fry time! Look for the following clues to impacts on the sun with your structures:
Does the location being considered sit next to a house, a barn, a shed, a building, a tree, shrubs or taller plants?
In relation to sun (Consideration A) do said structures create shade at certain points of the day, make it hotter or completely blocking the sun?
Structures can be your best friend or your worst enemy. Some structures can enable the perfect balance of sun and shade. Giving morning or afternoon sun and offering protection in high heat or cold wind. They can also completely take the sun away limiting one to only plants that live in the shade. As such, look at the structures around a potential location. Make note of said structures and their potential benefit to plants and use this information in the final location decision.
C: Are you using an existing bed or will you build from scratch?
The final thing to consider is the positive or negative impacts of using an existing bed versus building from scratch.Using an existing space does not always mean your garden efforts will be easier.
On the positive side: a preexisting bed may mean less clean up. Perhaps an easier effort at removing deeply established grass. It could also mean the soil has been rotated at some point, perhaps adding simplicity to revitalization of the area.
On the negative side: a preexisting bed could mean additional work. Perhaps the removal of rocks from a once rock garden. The removal of heavily established shrubs, trees or sedentary objects such as water features arbors or other items to allow for sun etc.
Take time to decide if a new garden or an existing garden would offer more benefits and capture the impacts to the potential location. Capture the data gathered in this analysis stage, write it down and make a preliminary decision!
Here is a quick Video on putting Step 1 to use. The goal is to find a spot that gives the MOST options for planting and to know in advance what limitations one will have.
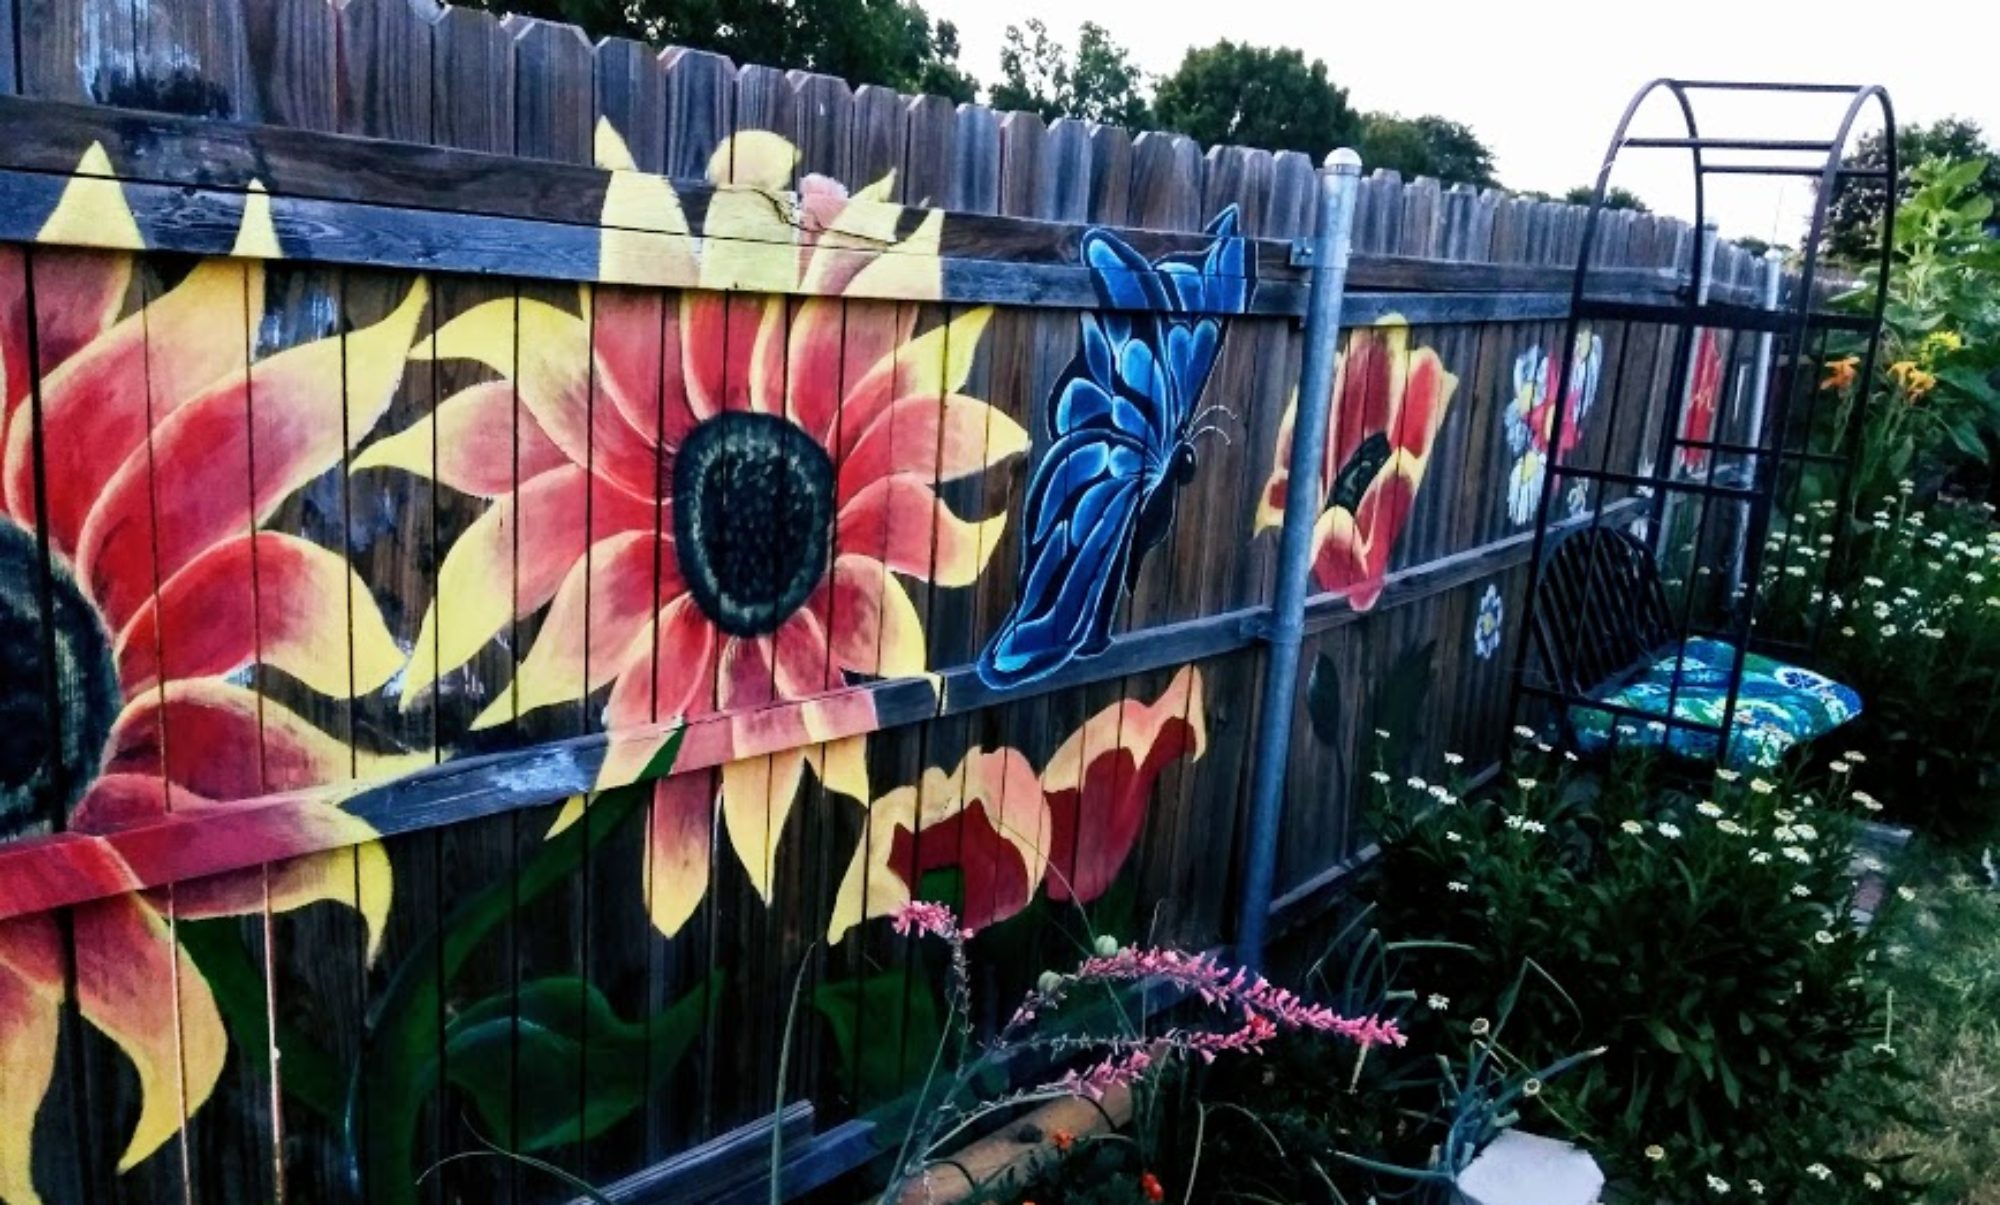

 Growing healthy roses can be one of the most enjoyable things to do… it can also be frustrating as they tend to get hit with things like Black Spot or other similar diseases. Here are a few Quick Tips to help your roses thrive:


 I took a deliberate walk around the gardens this morning. What did I find? Life; little signs of spring, or even better signs of life, all around me. The rebirth of so many things. It’s no wonder so many people feel this is their absolute favorite time of the year. What better time is there for planning and to refresh one’s mind then this new life stage? As Solomon said in his songs, “See! The winter is past; the rains are over and gone. Flowers appear on the earth; the season of singing has come, the cooing of doves is heard in our land… Arise, come, my darling; my beautiful one, come with me.”
 The first step in preparing your existing beds for spring is simply walking your space! Just as I did today grab a nice cup of coffee and walk your gardens. This is not a journey of work but one of discovery!


 However without a doubt I will continue to have freezes on and off through the end of March. As such, I should hold on my urge to remove this dead foliage until I know for sure my cold is truly gone. Why? This bit of leftover foliage offers warmth for the new babies underneath them. How will you know when?
  patterns. One should trim within a week or so of what is considered that last freeze in your area. If you have plants you’re not sure of you can reach out; we can figure it out!
 If it’s an existing bed probably a few bags in each of your spaces will be plenty. Work it into your existing soil spreading it across your beds. This picture here is for both new beds and a refresh of old! Therefore, the amount you need could vary based on the size of your beds and rather they are new or not!


 Some of my earliest memories are of me in the garden with my mum and dad, picking beans, planting flowers, sitting in the sun, enjoying wheelbarrow rides, watching bees and trying to catch skinks (Oma: What is a


 As a result, their greenery or their flowers can sometimes look shabby. An easy way to take care of the greenery is simply to trim it back. They clip easily with shears almost like a shrub making the leaves very tidy and nice looking with the tall flowers sitting atop them.


 The texture and structure of the soil is how it is put together, how it moves, handles water, and allows plants to grow. As such, soil texture is paramount to ones garden. Soil should have a crumb structure and be friable, (easily crumbled). It should also have good porosity so air, water, roots and organisms can move freely within the soil. This is a balance game though. Why? Because soil that is too friable probably has poor aggregate stability, it won’t hold structure well or retain water well. If on the other hand it does not break apart at all, it’s too hard, cemented or full of clay there will be issues; organisms will not be able to move through the soil.


 Tomatillos are native to Central America. According to


You must be logged in to post a comment.