Step One of a New Garden: Location, Location, Location!

So you read the Eight Steps to a Successful New Garden and want a bit more details!  Great!  This article covers in detail Step One of a New Garden: Location! It also covers each of the sub items one should consider when looking for a good location. So…. let’s get started!

Location, Location,  Location!

They say this in real estate and it applies for gardening as well! Wait.. not plants?  No.  Plants are important and one should have an idea of what their wanting to plant. Several of these steps somewhat work together and one will find themselves at times considering them all! However, the location plants will reside is more important.  Not dirt? No. Not dirt location!

In my humble experience location is the number one thing one must consider when starting a new bed.  Why? Simply put, how important is ones home to them?  The spot one is planting in will be the home to their plants.  The location selected for a garden will be where they live and thrive.   Just as humans look for a home that “feels” right,” ones garden will 100% define if plants “feel right” growing there.  And believe me you want your plants feeling right.

Another reason  to consider location first is it forces the advanced thought and planning needed in all future steps. especially planting and landscaping steps. One can modify their space once a location is established, to a point; however, some limitations cannot be modified.  As such, when looking at location options, consider these sub items before making a final decision:

A: What is the direction of the sun in relation to the potential location?  

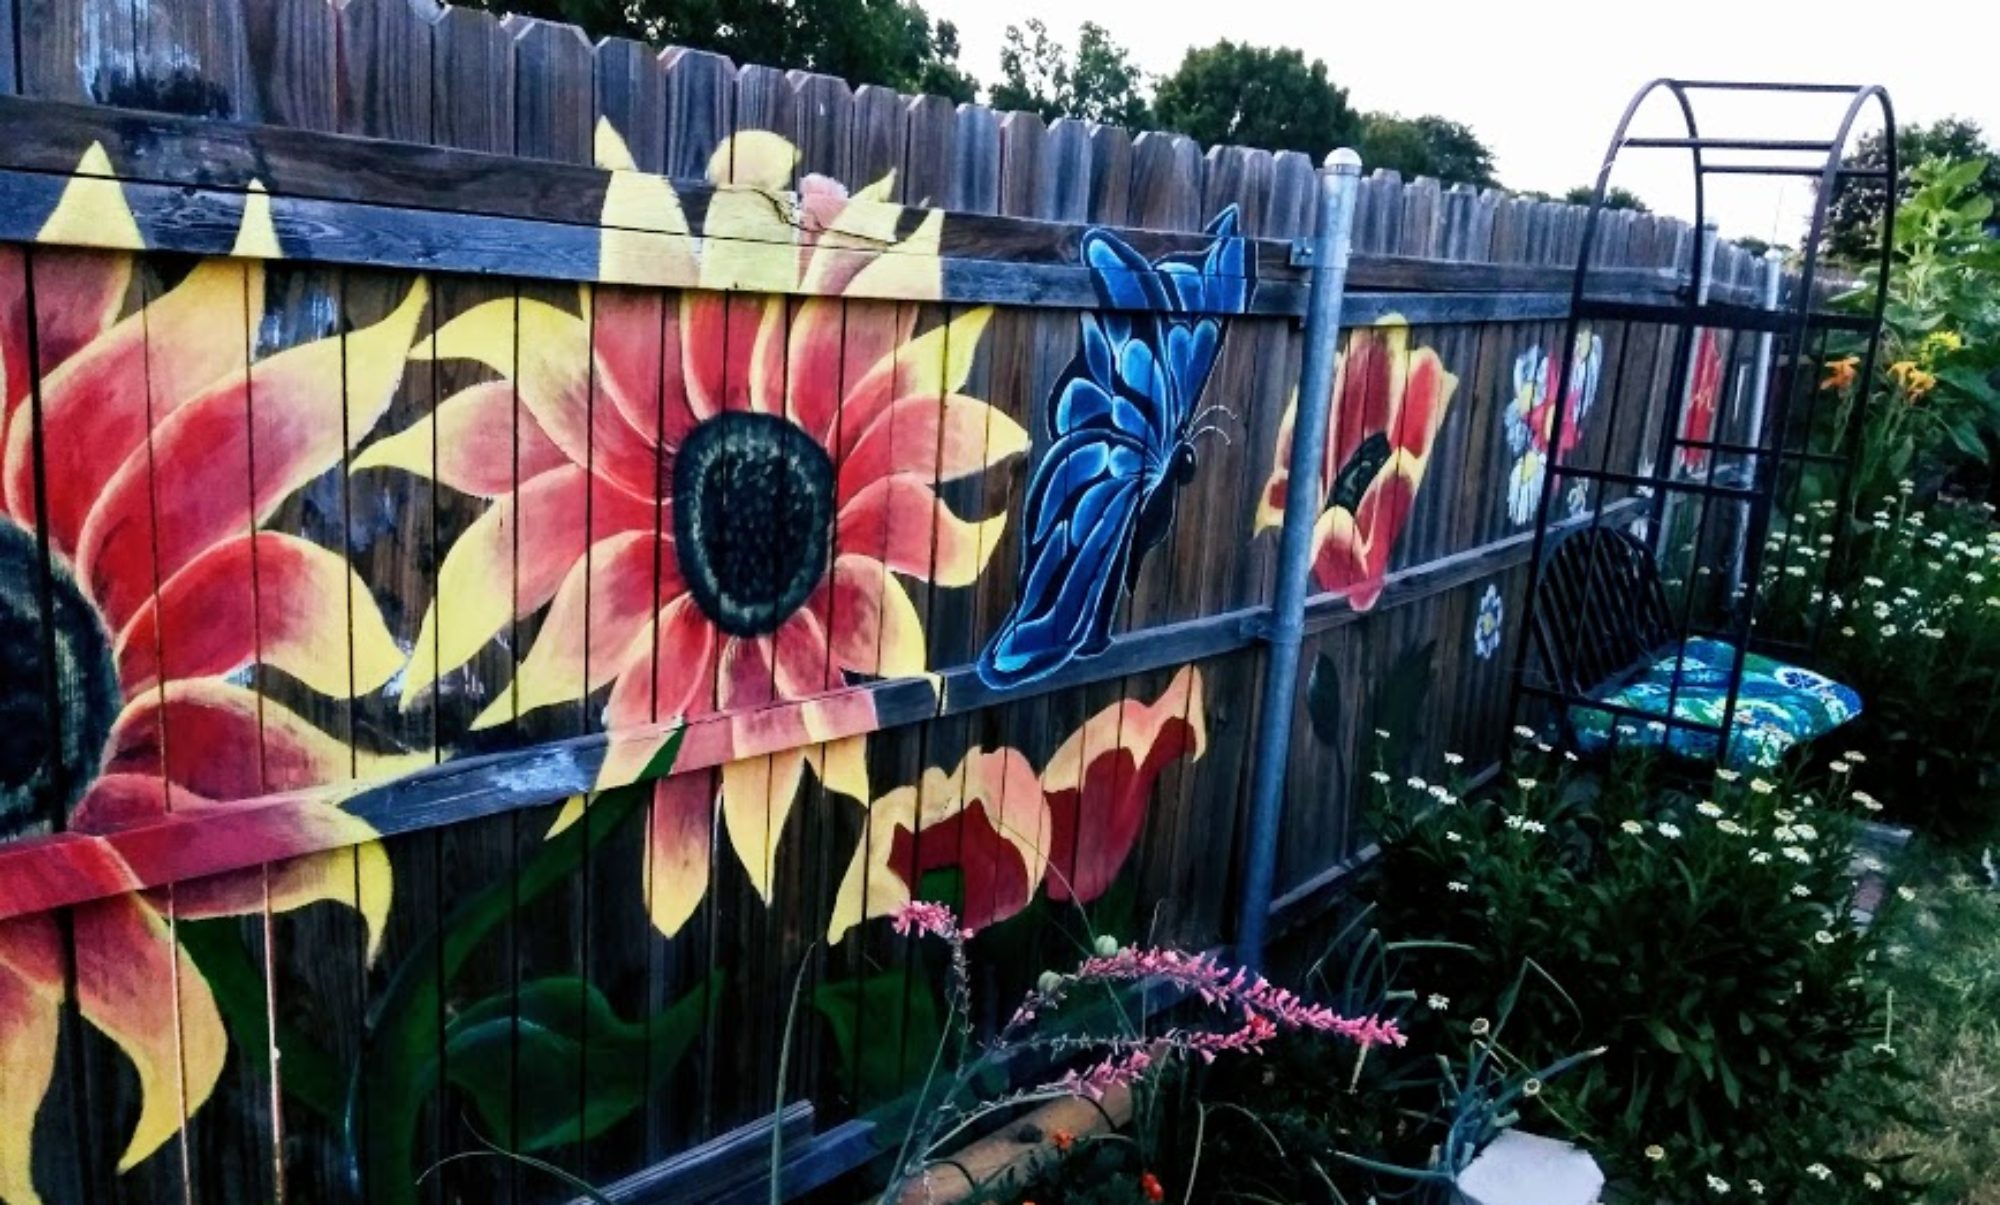
The direction of the sun in relation to a garden is paramount.  My very first garden was a failure because I did not consider this in the vicinity of my location.  What happened? I selected a spot that faced west and then planted shade loving plants!  What, they were pretty? They looked so lovely there! Until, they burned from the west sun. 

The direction of the sun will not necessarily stop an individual from planting in said location.   It can however,  define the kinds of plants one can sustain in the area being considered.  It may limit ones options and require planning to overcome issues of too much or too little sun. 

My space for example would have been fine if I had understood the importance of the sun. Tall plants or objects placed around the shade loving babies I selected could have protected them. Therefore, when considering a location study the sun and make note of the following:

  •  Does the location face North, South, East or West?  
  • Make note of the sun’s intensity (is it full, partial or shade)?
  • Study how the sun looks in the morning at noon and in the evening and make note of the differences.

Doing this ensures by Steps two and three (Soil and Plants) there has been thought in regards to the sun and its power.  It also helps plan for Step 7 Watering!

B: Are structures near the potential location (s)?

Consider in advance what structures surround prospective locations!  For example my shade loving plants, where that west sun hit, set against a big brick 1house.  I may as well have set them in an oven. West sun hitting hot brick all day long?  Oh yeah it was fry time! Look for the following clues to impacts on the sun with your structures:

  • Does the location being considered sit next to a house, a barn, a shed, a building, a tree, shrubs or taller plants?  
  • In relation to sun (Consideration A) do said structures create shade at certain points of the day, make it hotter or completely blocking the sun? 

Structures can be your best friend or your worst enemy.   Some structures can enable the perfect balance of sun and shade. Giving morning or afternoon sun and offering protection in high heat or cold wind. They can also completely take the sun away limiting one to only plants that live in the shade.  As such, look at the structures around a potential location. Make note of said structures and their potential benefit to plants and use this information in the final location decision.   

C: Are you using an existing bed or will you build from scratch?  

The final thing to consider is the positive or negative impacts of using an existing bed versus building from scratch. Using an existing space does not always mean your garden efforts will be easier.

  • On the positive side: a preexisting bed may mean less clean up. Perhaps an easier effort at removing deeply established grass.  It could also mean the soil has been rotated at some point, perhaps adding simplicity to revitalization of the area.  
  • On the negative side: a preexisting bed could mean additional work. Perhaps the removal of rocks from a once rock garden. The removal of heavily established shrubs, trees or sedentary objects such as water features arbors or other items to allow for sun etc.

Take time to decide if a new garden or an existing garden would offer more benefits and capture the impacts to the potential location. Capture the data gathered in this analysis stage, write it down and make a preliminary decision!

Here is a quick Video on putting Step 1 to use. The goal is to find a spot that gives the MOST options for planting and to know in advance what limitations one will have.   

Did this Article help you? 

Visit Oma’s Storefront For a Selection of Unique Products and Services


Eight Steps to a Successful New Garden

So you want to start a new garden?  Outstanding! I like to say, “planting a garden is the first step to true serenity.”   It can also however, be the first step to frustration and anger if one does not plan appropriately.  So where do you start; there are so many things to consider when planting a garden? For example: What plants do you want?  Do you want flowers or vegetables or trees or all? Are you doing landscaping for your front yard or planting for your backyard?  Do you want a personal retreat or a public oasis? Maybe you’re just trying fix that corner that’s been bothering you for years!  Regardless, you wish there was a checklist you could look at to guide you through this process. Well… here you go; eight steps to a new garden!

Garden Steps Checklist

Below is a simple checklist that can be used covering 8 steps to a successful new garden space.  

1:     Location, Location, Location! 

Look closely at the location you’re considering. Always ask the following questions when deciding where a new garden location will be:

  • What is the direction of the sun in relation to the potential location?
  • Are there Structures Around the area?
  • Is there an existing garden in the location or will this be a new garden?

2:     Soil; the foundation of your new garden! 

The health of your soil is as important as the foundation on your home!

  • Work this item in combination with Step 3 as you may have to consistently modify as you determine the types of plants preferred!
  • What is the texture of the soil?
  • What is the drainage of your soil like?
  • What amendments do you need? 

3:     What plants work best in the selected location?

If your primary is veggies plan for time to take care of them!
  • How much time is available for plant maintenance?
  • Will the plants wanted still work in this spot?
  • Tie 1 and 2 together! Is there a need to modify original thoughts on the location or soil?

4:     Landscape

  • Based on 3, What design will support the space?
  • Allowing for proper drainage (Use knowledge from Step 2 for landscaping needs surrounding drainage)
  • Is there a need to add trees or other tall plants to support primary plants?

5:     Planting Time  A: !

Transplanting or Sowing which is best?

  • Transplanting 
  • Direct Sowing

6:     Planting Time B!: 

  • Structures Needed for Plant Support

7:     Watering

8:     On-Going Maintenance

  • Trimming
  • Weeding
  • Harvesting

Did this checklist help you? 

Visit Oma’s Storefront For a Selection of Unique Products and Services


Managing Powdery Mildew

Your walking around the garden looking at the all the beauty and notice this white powder that looks like its floating across your leaves.   What is that?  Well if you have had lots of rain, lots of humidity or have plants growing in a tight spot then you are more than likely dealing with powdery mildew. 

Powdery Mildew showing up on my Gourds!

About Powdery Mildew

Powdery Mildew is a fungal disease that actually has several different strains.  Figures it would want to ensure it is available to a wide variation of plants!  It is most active in temperatures that range from around 68 to 90 degrees nights being the cooler of the range.   This means one will find it more often in their spring and fall beds which is right where my issues are showing up!  It’s also more often to show up during heavy rainy periods with high humidity.

Because there are multiple strains you will not always find it spreading; however, if you have like families of plants together watch out.  It can take over quickly if not cared for.  For example if you plant your Cucurbita together (Squash, Pumpkin etc) what ever strain hits one will quickly spread to the next.

Powdery Mildew on my pumpkins which are growing right next to cucumbers

What is on your Zinnias (another plant that is susceptible) will not effect your roses It will however effect other plants that are members of the same composite family.  Powdery Mildew is air born so be careful when removing effected leaves and never place them in your compost.

Easy Tips for Managing Powdery Mildew

  • The most common recipe is Baking Soda(1 tbsp); Dish-washing soap (2 tsp) and one gallon of water.  Spray this on your plants when the sun is low so as not to burn them.  Baking soda can also be strong for some plants so test them one day and check them the next before full application.  Adjust the tbsp down accordingly to 1/2 tbsp if needed.
  • Neem Oil, the pure organic cold pressed oil not what is pre-mixed, is also great.  Mix 1 tsp in with your baking soda. You can also substitute Neem Oil at 2 tsp in place of baking powder.
  • Milk has been reported to help stop the growth of powdery mildew.  I have not tried this recipe. I plan to test it out this month with the issues I have going on right now. I will update on that result!  Mix is 60/40 with milk at 60%.

Associated Articles

Visit Oma’s Store Front!

Using Sunflower Stalks in Your Garden!

If you’re a Gardner like me you’re always looking for ways to re-use!   One spends so much time and money on their gardens anyway.  Why not find ways to utilize the plants they grow, (outside of the obvious food of course)!  This was my thought when I started investigating using Sunflower or Okra stalks in my vegetable beds.   I mean Sunflowers are just a beautiful addition to any garden and I plant them everywhere!
Skyscrapers along the back
Mammoth Sunflowers by the Arbor
Skyscrapers Around the Pond
Corn and sunflowers

What really grabbed my attention was the size of them.   Some of these plants grow so tall and the stalks are so large that it just seemed right to use them in the gardens if possible.  As a result, over the last season, I have been testing out both sunflower and okra stalks as tepees and as slat holders in my space.  Here are some tips I have learned on reusing these giant plants.

Tips on using Sunflower and Okra Stalks

  • The stalks of the skyscraper sunflowers can range from three to four inches around at the largest point.  Some even get as high as fifteen feet.  These can make beautiful natural poles for beans etc. As such, if they are in the right spot you may consider not cutting them at all.
    Skyscraper Sunflower sawed for drying

    Plant your veining plants at the base of them and allow them to simply crawl their way up.

However, If you need to utilize your stalks in a spot other than where they grew,  pull them up and clean them for drying.


  • Utilize a small saw to cut them at the base of the plant.  After removing several of them I found it easier, (at least on the larger plants ) to cut them first and deal with the roots later.

    Saw the stalks at the base of the plant
  • Prepare stalks for drying by removing any leaves, stems, flowers etc remaining on the plants.  Do  NOT cut the leaves or stems all the way to the stalk!  Allow about an inch of length to remain.
    Leave about an inch of the stem on your stalks while cleaning

    This sounds odd; however, once dry this tip hardens, and provides great handles for string, twine or rope.

  • Drying is very important.  Okra stalks were harder to dry.  I lost several to mold while attempting to dry them over the fall and winter season.  The weather was too cold and wet.   Sunflower stalks dried much faster and easier with less loss.   As such if your planning on using Okra it’s best to grow them in the spring and use the summer sun to dry them with.
  • Find a place that has full sun and keep them off the ground.   An arbor can provide the perfect spot!
    Sunflower stalks drying on the arbor

  • Sunflower stalks took about 45 days to fully dry.  At that point they were ready for the garden.
  • For tepees utilize heavy garden twine to tie the stalks together; or, twists that are stable enough to hold them together.  It’s also helpful to dig out the area the  tepees will fill prior to tying them up.

    Once more gourd pic because it’s just cool!

You can find Sunflower and Okra stalks all over my beds.  The larger stalks were used for zucchini and Gourds

Zucchini took up lots of space before the stalks.
Stalks in place, Zucchini now off the ground!
Underestimated the weight of the gourds! Vines were hanging low.
Larger Stalks held the weight lifting them above the plants below them
Once more gourd pic because it’s just cool!
Smaller stalks make perfect bean or cantaloupe tepees.

Overall I have been very satisfied with the beauty and versatility these wonderful plants add to a garden.  Once your flowers are gone, before you throw them out, look around your area and make sure there is not a place their stalks are needed!   Here is a quick video to cover a bit of the content on this article!

Accompanying Content


Visit Oma’s Store Front For Handmade Organic Products

Squash Vine Borer – Enemy Number 1 of Cucurbita’s

If you love growing squash then plan for this insect; because the squash vine borer moth is a bad one! There is nothing worse then walking around your garden and seeing your beautiful zucchini or summer squash healthy and strong and returning the next day to find it wilted and gone; and, that is about how fast it seems to happen! As such, anyone planning to grow plants in the squash family needs to be aware  of the Melittia cucurbitae moth, also known as the squash vine borer! This ensures you have a chance of stopping these moths from destroying your plants or at least lets you know what they look like so you can just beat them to death when you see them ha!   

About

Native to North America the  squash vine borer could actually be confused with a beneficial insect.  After all, unlike most moths,  it comes out in the day and flies with very quick bee like movements.  It has a bright orange and red body that I could almost say is pretty.  However, after years of fighting these suckers I firmly believe their color has one purpose, so you see them and know that evil is upon you!  These borer moths love squash, zucchini, pumpkins, and gourds all of which I am growing in my garden!  I think it is safe to say that I pretty much hate them; yet, as you can see from this quick video the borer does not care, it still loves my garden!

Squash vine borers will grow in a brown cocoon in your soil, living there through the winter. They emerge in the summer months and fly around laying their eggs on your food!  Larvae hatch within 7 to 14 days and proceed to bore their way into the hollow stems of your plants where they eat them from the inside out for another 14 to 28 days. If you have missed the egg stage, you may also see the small white worms with a black head on your stalks. These worms do not stay small long.

Tips

There are several organic things you can do to manage the squash vine borer.

  • Look for the eggs of the borer; and look for them often especially during their season, this will help you stop the damage before it begins! Eggs can be found on the underside of the leaves in clusters and can also be found on their own on the stems of the plants.  I have read some things that say they are at the base of the stems, they are! These moths will place their eggs wherever they land so they can also be found at the top and the middle and everywhere in between!

If the eggs are found remove them. Wipe them off with a damp washcloth, your fingernail, a butter knife or the edge of scissors etc. Also Look for damage from the worms. They can be little small holes with sawdust like residue around the wound or large holes in the major vine area of the plant. 

  • For the smaller stem holes use a pointed object to dig out the hole some.    Place your sprayer on the hole and fill the stem up with either Neem Oil mix or BT.  I like to tell them to just try and swim out of that while I am filling it up!
  • For larger holes if you can see the worm remove it or stab it and leave it there.  If you cannot see it, use the same method and fill the hole. Worms will ingest the Neem or BT mix and die in the vine or stem. Cover any of the large holes in the vine with fresh compost so they can heal and continue growing.

Sprinkling wood ashes on the stems along with Diatomaceous Earth (DE),  black pepper around the plants or growing radishes near them has also been reported as a deterrent for the moths.  I personally have not tried the ashes or pepper, I do use DE and I have had luck with radishes as a companion plant!  Crop covers are also an option with manual pollination of your plants.  I don't prefer this method.

It's even more important when growing squash to till your soil in the spring and the winter to remove the overwintering cocoons.  Also, strictly follow the rules of rotation and attempt to never place your plants in the same spot two years in a row. Last but not least, do NOT put your spent squash in your compost; if possible you should actually burn it.  If you can't burn it place the leaves and stems in a plastic bag and leave them in the sun.  Don't feel bad about any evil laughs that slip out as you imagine the slow death of any borers trapped in the bag!

My best luck has been with the "look for eggs and spray inside the stems method" if I miss them.  What has worked for you in protecting your plants from this enemy?  Do you have some tips to share?  If so leave us a message we would love to hear them!

Related Articles

Quick Hit! - Looking for the Squash Vine Borer

Zucchini - Black Beauty Squash

Insects – The Sunflower Moth

Sunflower Moth

About the Sunflower Moth

For those that love Sunflowers be on the look out for this pesky insect! It’s a small white sandy colored moth in the genus Homoeosoma.  There are two types, the American Sunflower moth (Homoeosoma electellum) and the Eurasian sunflower moth (Homoeosoma nebulella).   They show up in May to August time frame (depending on your region) and are most prevalent in the twilight hours, (figures it would be right when we all love to be in the garden) where the female lays their eggs on the sunflower head.   

The spawn of this devil will hatch in about a week’s time and burrow themselves down into the the seed head and attempt to eat to their heart’s content with no concern what so ever to your precious plants (how rude!).    To make matters worse this pest can also effect your Marigolds and your Echinacea  as you can see from the picture below where some of my own were impacted.   Signs of damage appears as a rotted area right in the middle of your flowers.   If you pull the seed head apart you will most often find the worms, (I’ll add a pic of that).

Flowers suffering from moth damage

Tips to Avoid and Treat

Like so many of the insects we deal with in our gardens there are a few natural enemies of the sunflower moth.

  • Wasps will attack the larvae as well as eat the eggs of the moth reducing its impact.
  • Ground beetles can attack the overwintering pupae and pirate bugs will also feed on them.
  • Insecticidal soap as well as dawn dish soap (1 1/2 tsp per quart) mixed with water and sprayed on the plant’s seed head can be used.
  • Organic insecticides such as BT and Neem can be used.
  • I personally have had good luck using Neem Oil (the 100% organic cold pressed kind that you mix yourself) to detour them.   Simply spray the seed heads while spraying the rest of the garden.
  • Tilling your soil well for winter as well as again in spring and using nematodes is a good practice. This helps remove any overwintering little critters, (get them while they sleep!)

There are also several synthetic sprays that can be used. However its best for our bees to try the natural methods first as there are so many organic options available to control this pesky insect.     If you find them on your plant cut and remove the flowers impacted and do not compost!

Follow me on Facebook