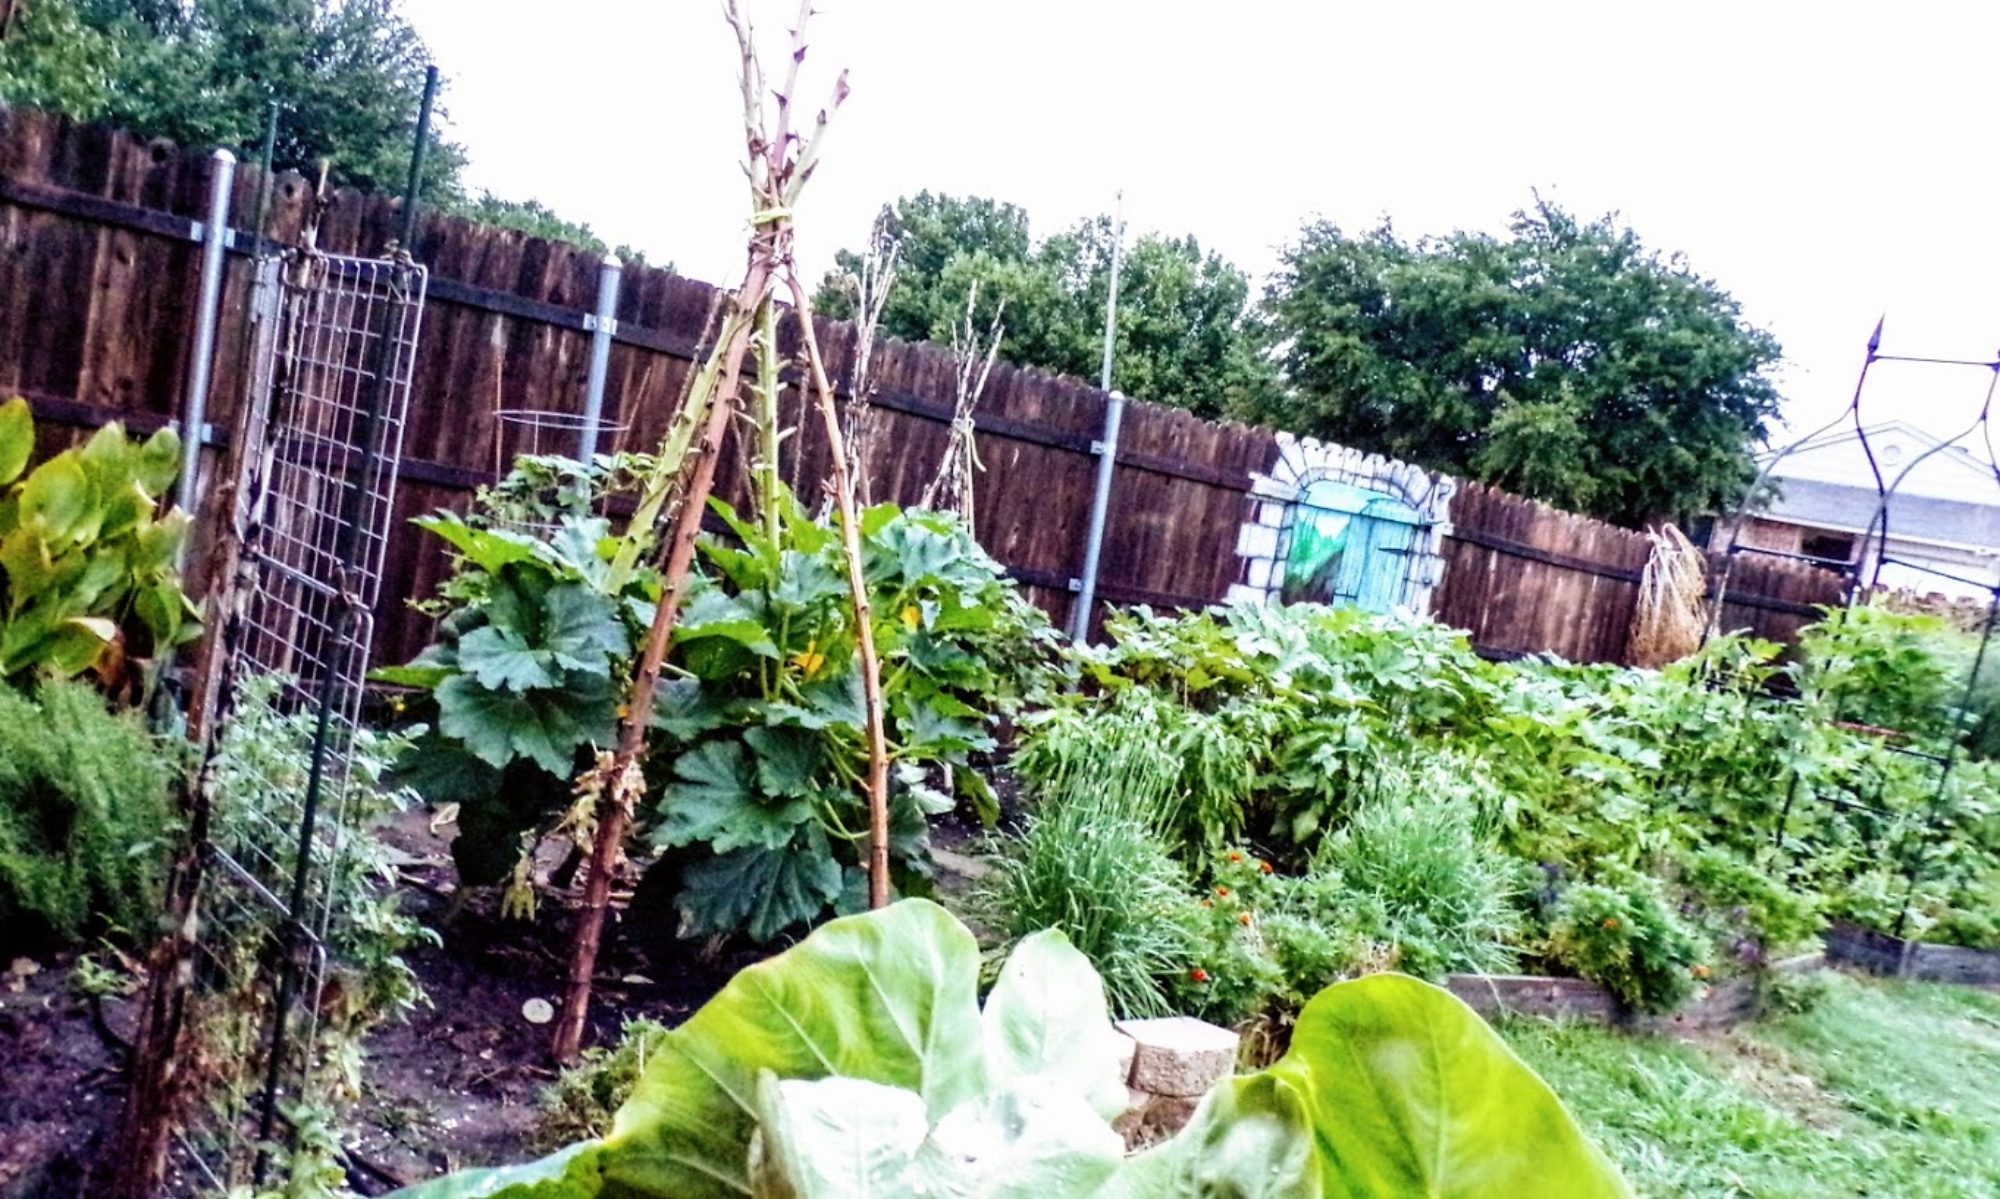
My journey growing gourds started about five years ago with ornamental gourds. I wanted to grow bottle gourds, also called birdhouse gourds and was primarily interested in them for crafts and such. 
What I discovered was growing gourds is simply fun. I have since come to think of gourds as the pringle of the plant world. You know… you can’t “grow” just one? Once one has experienced the total coolness of a gourd vine rambling across their yard or covering an arbor with giant, odd or gnarly looking “things” hanging down around it, they simply want to see more.

After growing the birdhouse gourd I just had to try a bushel gourd, (a giant that can grow up to 5 feet across) which led me to the luffa gourd (because who doesn’t want free sponges) and in the coming year I would love to try the canteen, apple or dipper gourd!
What is a Gourd?

Gourds are a part of the cucurbitaceae family which holds some 965 species including the edible varieties, squash and pumpkins; and, the ornamental varieties that are non edible with hard shells. Ornamental gourds are often used for arts and crafts, fancy bowls and spoons etc.

Most plants in this family are vine like. They also have a range of white or yellow flowers with both male and female flowers on the same vine.
Growing Ornamental Gourds

Hard shell ornamental gourds prefer full sun. They can take the heat! I have experienced growth in partial shade; however, the largest growth is obtained when grown in full sun. Gourds are heavy eaters, they produce large fruit so ensure their soil is enriched with compost and organic matter. (Tip: Leaves are great for organic matter. If heavy falling leaves exist around ones garden space, cover the soil with them in fall and roll them into it in spring!)
- Preference for gourds is direct sown in spring once all signs of frost has passed and the ground has warmed.
- Some gourds can take up to 100 days to fully develop and be ready for harvest. As such, use large starting pods to ensure minimal root damage if starting indoors due to shorter growing seasons.
- Plan for space. Most gourds have long heavy vines. They can be allowed to ramble across the ground or grown vertical with arbors or tepees, etc. Personal preference is to grow vertically. This enables ease of harvest and identification of pests or fungus etc.
- Plant seeds 1- 2 inches deep. If planting in rows plant in groups of 3 – 5 seeds, five feet apart. Keep the strongest 2-3 plants in each group.
- If seeding around arbors plant 2 – 4 seeds on each side of the arbor.
- Keep soil moist during germination and moderately moist as the plants matures.
- Gourds can successfully be grown in containers. Two of my favorite container gardeners on Instagram are Cheryl of My Brentwood Garden and The Frenchie Gardener give them a visit for all kinds of container garden tips!
Caring for Gourds

Gourds are relatively simple to care for once they have established. Their vines grow quick and strong leaving one of the largest challenges their maintenance. Clip the vines as needed to ensure they don’t crawl into or around other plants.
Gourds are susceptible to the Squash Vine Borer as well as other insects and fungi that target the cucurbitaceae family. I have had very good luck following these simple feeding steps:
- Spray gourds semi-monthly with a mix of: fish emulsion (2 tbs) dish soap (2 tsp) mixed with 1 gallon of water.
- Monthly:
- Add used coffe grinds to soil around base of plants.
- Add Epsom salt to soil
Companion plants for Gourds

Gourds, like many other plants, thrive when paired with specific plants, also known as companion plants. Some of the basic companion plants for gourds are:
- Marigolds
- Dill
- Radish
- Tansy
- Broccoli
- Beans
- Corn


You must be logged in to post a comment.